Casa Pescara
Parquet · 3 min · Published
Parquet and a sliding door in Pescara, planning a workable threshold
A fictional case about fitting parquet around a floor guide, checking finished levels and keeping the fixings accessible.
Illustrative scenario · A narrative example of work stages and final checks; it does not document an actual completed project.
The guide divided two surfaces
In this fictional scenario, a Pescara flat had a sliding door between the living room and a small study. Its floor guide was visible, and the initial drawing did not show how it would remain accessible after parquet installation. The owner wanted a threshold she could clean easily and planned to keep the door. Before the visit she photographed the leaf fully open and closed, including the floor covered in each position. She marked the side from which she normally entered the study. The brief covered the new surface and its junction with the existing door. Operation of the door would be assessed alongside the flooring choice.
Two levels needed to be measured together
The flooring installer surveyed the existing surface, the clearance under the leaf, and the space occupied by the guide with the door in its usual positions. The door specialist identified what needed to remain accessible for adjustment and servicing. They drew the proposed finished level, including the thickness of the fitting system, and the area to keep clear around the fixings. They checked where the study floor ended too. A measurement taken with the door closed had hidden the tightest part of the passage. They marked that location for the final check and kept a photograph with the leaf halfway open. The installer confirmed final dimensions before cutting the neighbouring boards.
A finish that kept the junction readable
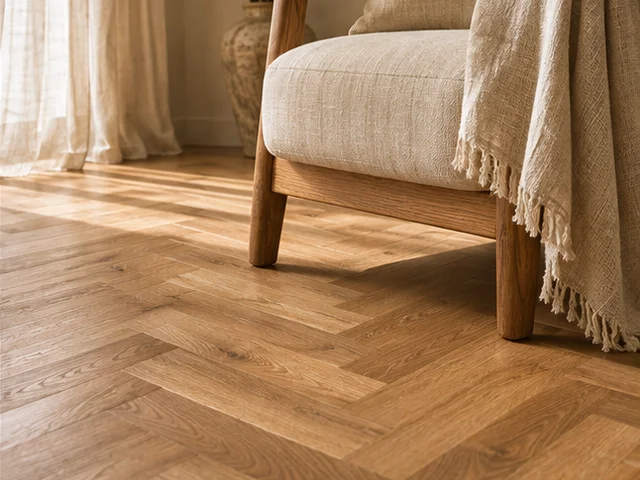
The project used prefinished parquet whose thickness suited the verified levels and a separate transition piece. The timber finish had already been seen under the living-room light. The trim had a different job. It would make the junction visible while preserving access to the guide. The installer compared a sample with the door edge and explained which clearances depended on the chosen system. The owner viewed the sample with the leaf open and then closed. They recorded the parquet model, trim and location of the junction on the drawing. Component selection followed the survey because a different level would have affected both the way the door opened and the shape of the transition.
Installation kept the service point clear
Before installation the door and the study floor were protected. The contact checked door movement before work proceeded around the guide. After preparing the substrate, the installer checked the level again and aligned the boards to the marked line. The agreed service access stayed clear, and the junction was fitted according to the chosen system’s instructions. A photograph showed the state before the final component went in, with an orientation reference showing the side people entered from. Protection was lifted for testing once the surfaces were ready under the applicable instructions. The final section remained visible until both people responsible had reviewed it together.
The final test followed the full travel
At handover the door was moved through its full travel, with particular attention to the tightest section. The guide remained accessible as shown in the drawing. The owner looked at the edge in side light and repeated the everyday act of crossing the threshold with a basket. The file retained the pictures, finish code, trim location and guidance on cleaning and care. Any future adjustment was assigned to the door specialist. A useful check for a similar project is the least clearance across the actual door movement, compared with the full finished floor build-up. In this example it was checked before cutting and again at handover.
Pescara · PE · Abruzzo · Distance and service-area coverage ↗
How we prepare the guides: sources and illustrative scenarios