Casa Pescara
Parquet · 3 min · Published
Scratches near the door on a Pescara parquet floor
An illustrative case about distinguishing surface marks from damage to the finish before repairing parquet.
Illustrative scenario · A narrative example of work stages and final checks; it does not document an actual completed project.
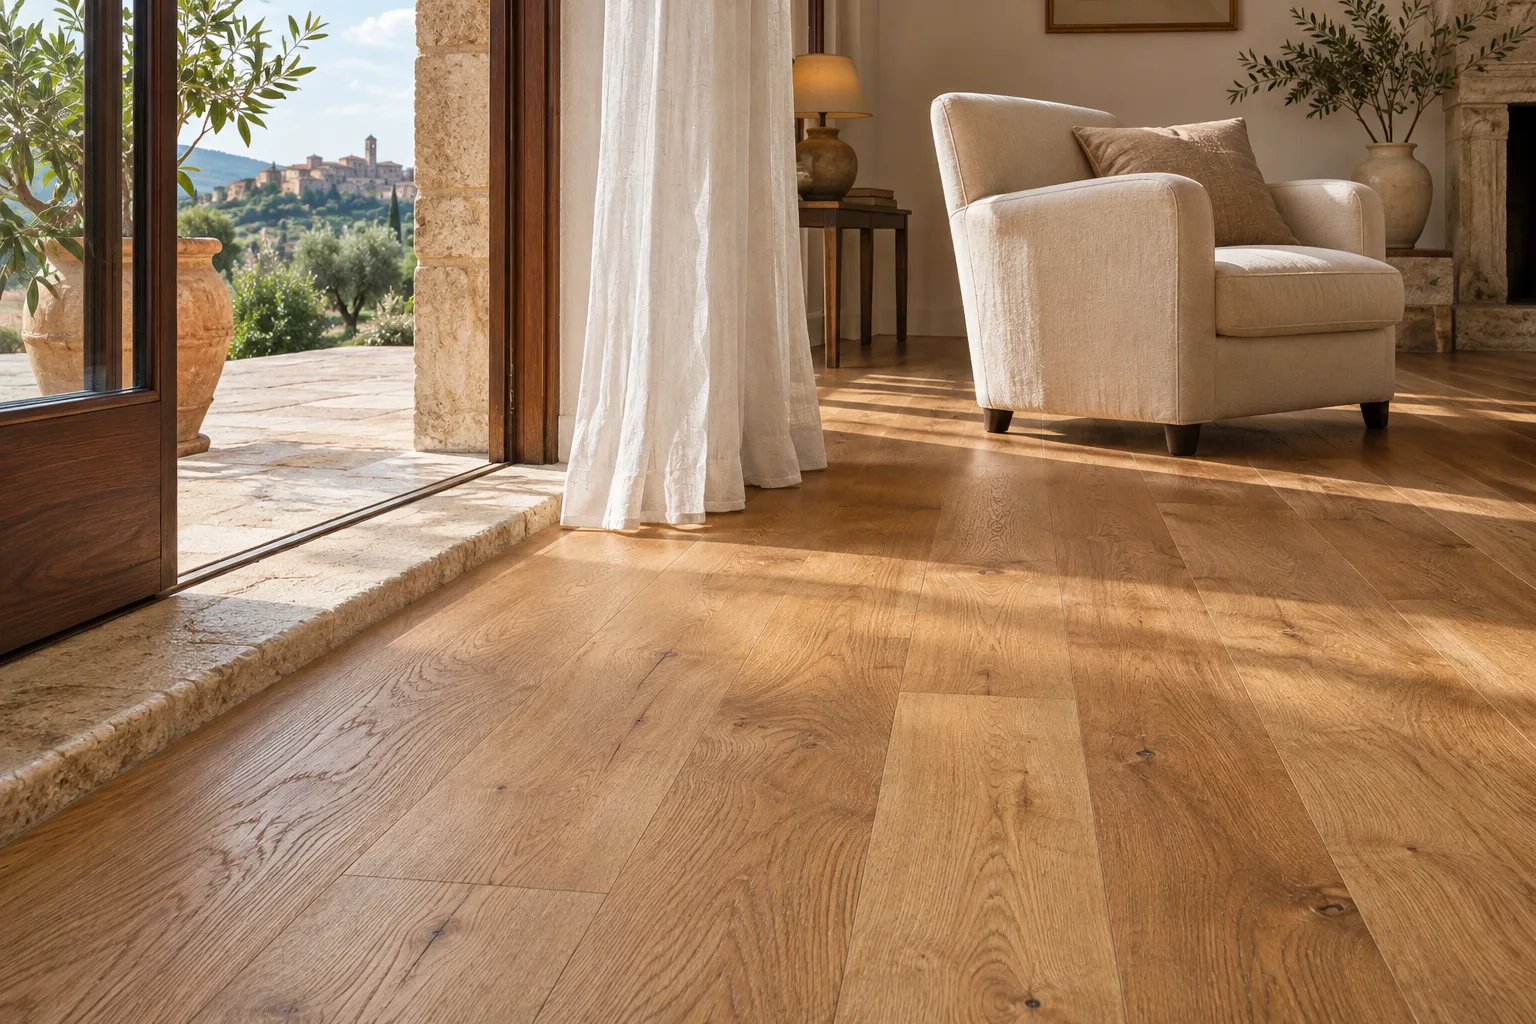
The marks followed the dog’s turning point
In this illustrative case, the entry parquet in Pescara had been laid about fifteen years earlier. Curved marks appeared near the living room door. Some showed only under low light, while others remained visible with the overhead light on. The household had seen the dog turn at that spot. Grit brought in from the entrance also fell along the same route. Before asking about repairs, they photographed the lines and marked where the rug ended. The flooring installer asked for the surface to be left in its current condition until the visit so dust could be distinguished from traces remaining after compatible cleaning.
Separating three surface conditions
The installer identified the finish from the surviving documents and inspected the boards. Some of the marks were deposits visible in side light. Other lines showed a change in gloss, and in several places the surface had interruptions noticeable during the inspection. The three groups were marked on the plan and linked to photographs. The installer compared them with a board that had stayed protected behind the door. The check could not link every mark to a single movement by the dog. Treatment was chosen for the condition of the surface, while the team considered how to reduce the grit carried through the entrance separately.
A repair bounded by the boards
The installer prepared samples to compare a local repair with treating a larger surface. Once dry, the gloss looked different under the window. The project retained boards that only needed cleaning and confined repair to areas where the selected system was compatible. The installer showed the treatment boundary on the plan and viewed it from the doorway. The household selected a rug with a backing suited to the finish and placed it so the edge would stay clear of the usual turning point. The rug would go back after the period specified for the finish, following the product instructions.
Inspection before reopening the route
After the required waiting period, the installer viewed the dry surface in the two lighting conditions used at the survey. The first photograph revealed an edge that was less visible in the other. Both photographs were kept with the camera positions recorded. The new rug was tried in place and observed during ordinary movement. One corner shifted during a turn, so the position changed before the route reopened. The final document recorded the materials and distinguished the marks removed, the areas repaired and traces still visible on the retained surface. It gave the household a reference for reviewing any future change.
Choosing what to treat when scratches appear
Photograph the dry marks and show the installer where the animal moves and where grit collects. Ask for the finish to be checked before comparing cleaning, local repair and wider treatment. View samples in the actual light and ask when a rug can go back. At handover, keep photographs and care instructions, including suitable protection materials. The example’s sheet also showed where to check whether the rug had shifted after its first few uses and which images to use when comparing any new scratches with the marks that were already present at handover.
Pescara · PE · Abruzzo · Distance and service-area coverage ↗
How we prepare the guides: sources and illustrative scenarios