Casa Pescara
Kitchen · 3 min · Published
A kitchen worktop against an out-of-square wall in Pescara
An illustrative Pescara kitchen renovation follows an irregular wall from the survey to the final worktop junction check.
Illustrative scenario · A narrative example of work stages and final checks; it does not document an actual completed project.
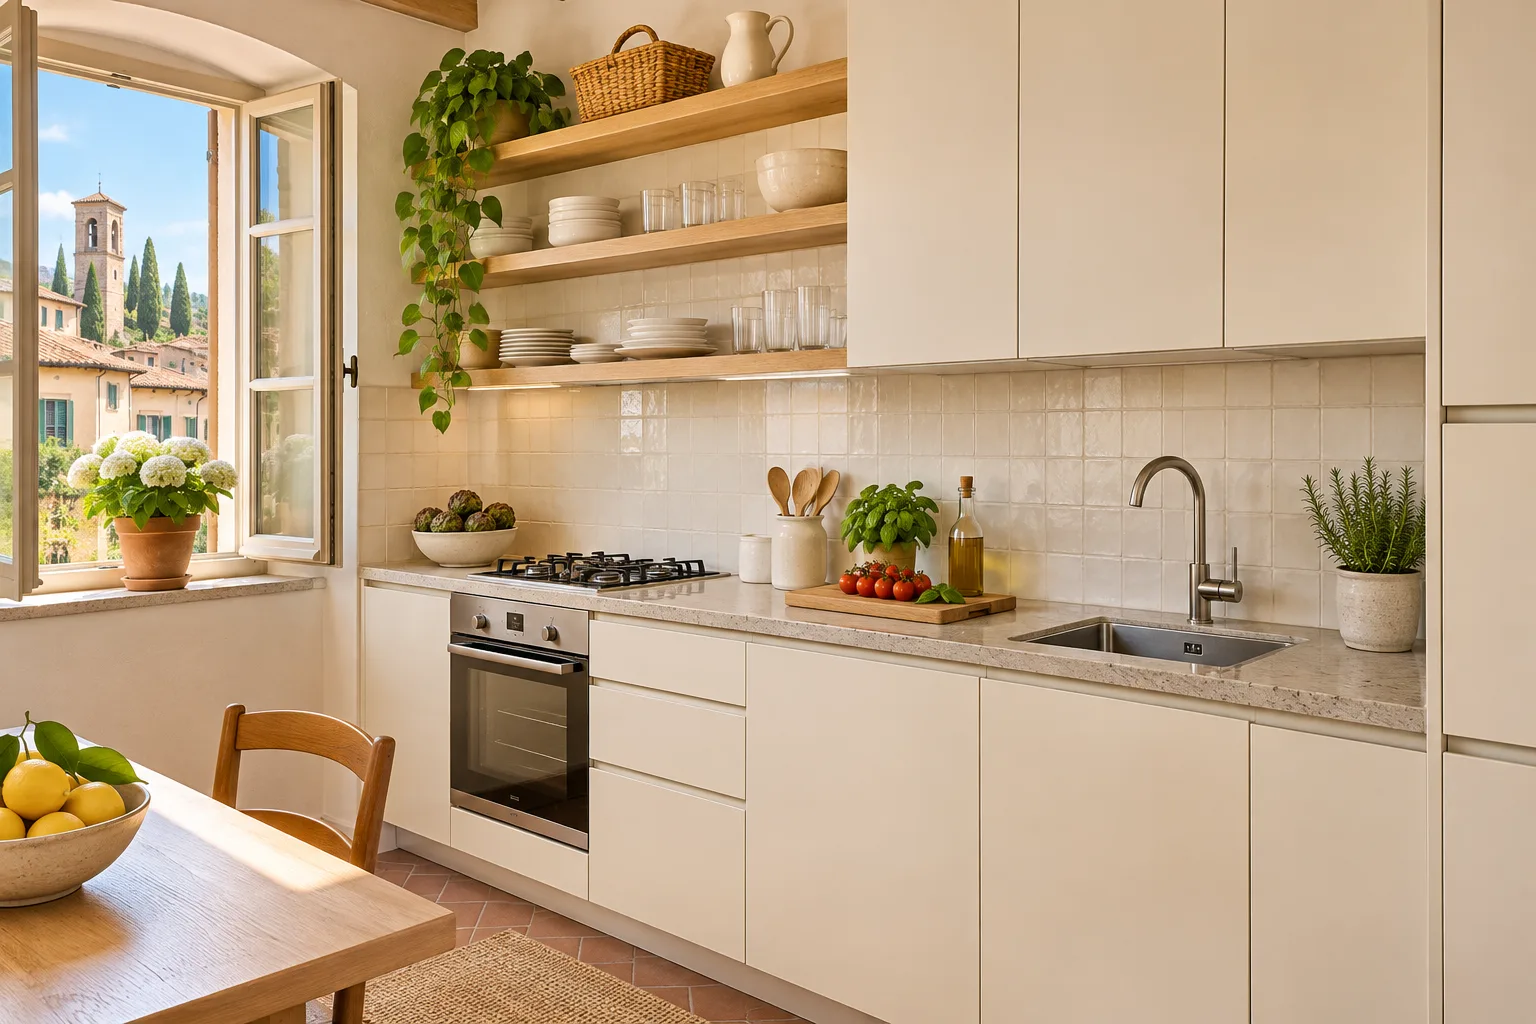
The straight worktop had two different depths
In this illustrative case, a kitchen in a Pescara flat kept two runs of base units and received a new worktop on the sink side. The old top had looked rectangular because a strip behind the tap hid the rear edge. Once removed, it became clear that the wall narrowed towards the window. The first survey had recorded one depth, useful for an estimate but insufficient for fabrication. The joiner marked measurements wherever the wall changed direction. The sink position was then measured from the cabinet fronts, giving the fabricator a stable reference that did not depend on the irregular rear edge. Both the cabinet line and the wall profile stayed on the drawing.
The survey treated the wall and cabinets separately
With the base units in their intended positions, the fitter checked the front line and identified where the worktop would be supported. A thicker patch of plaster was visible behind the old back panel. The team checked whether it needed preparation before final measurements. A rear edge that compensated for the whole difference would alter the usable space behind the sink. A local wall repair left a corner junction to design. Both drawings used the same reference and showed which part depended on the wall. The decision was made once the team could compare the finished cabinet, sill and splashback heights together.
The edge detail followed the chosen material
The project compared an upstand compatible with the worktop and a short piece of separate splashback. The upstand made a continuous line. The separate finish followed the area beside the window more easily but introduced an exposed end visible from the door. The supplier showed samples lying flat and explained which details the material could be fabricated to take. The installer checked how the sink and tap occupied space above and below the top. The selected detail used a low rear edge and a separate junction near the sill. The quote identified final measurement, the cut-out and the rear junction as individual tasks.
The template was checked before the top was cut
The wall was prepared and the base units were levelled before final measurements. The fabricator took a template against the fitted units and marked cut-outs using the confirmed product codes. At the intermediate check, the template showed that the top would come close to the window edge. The designer reviewed the window movement with the tap height and revised the drawing. The fitting team also checked the size of the top against the route from the building door. The approved version assigned worktop fitting, the rear junction and service connections to the relevant people. Adjustments were captured before the piece arrived, while it was still possible to change them.
The handover started with the line of the fronts
After fitting, the planned check in the scenario started at the door. The top followed the cabinets and the wall variation was handled at the back. The window swing, room beside the bowl and access to connections were checked. Side light showed the junction and a cloth could reach the narrowest spot for cleaning. The project file retained the measured drawing and care instructions. The difference between preliminary and final dimensions remained clear. If the sink is replaced later, the drawing can be used to review the cut-out, worktop edge and the parts of the wall that were prepared.
Pescara · PE · Abruzzo · Distance and service-area coverage ↗
How we prepare the guides: sources and illustrative scenarios