Casa Pescara
Kitchen · 3 min · Published
Kitchen plinths on an existing uneven floor in Pianella
An illustrative Pianella kitchen coordinates cabinet levels, removable plinths and the visible line against an existing floor.
Illustrative scenario · A narrative example of work stages and final checks; it does not document an actual completed project.
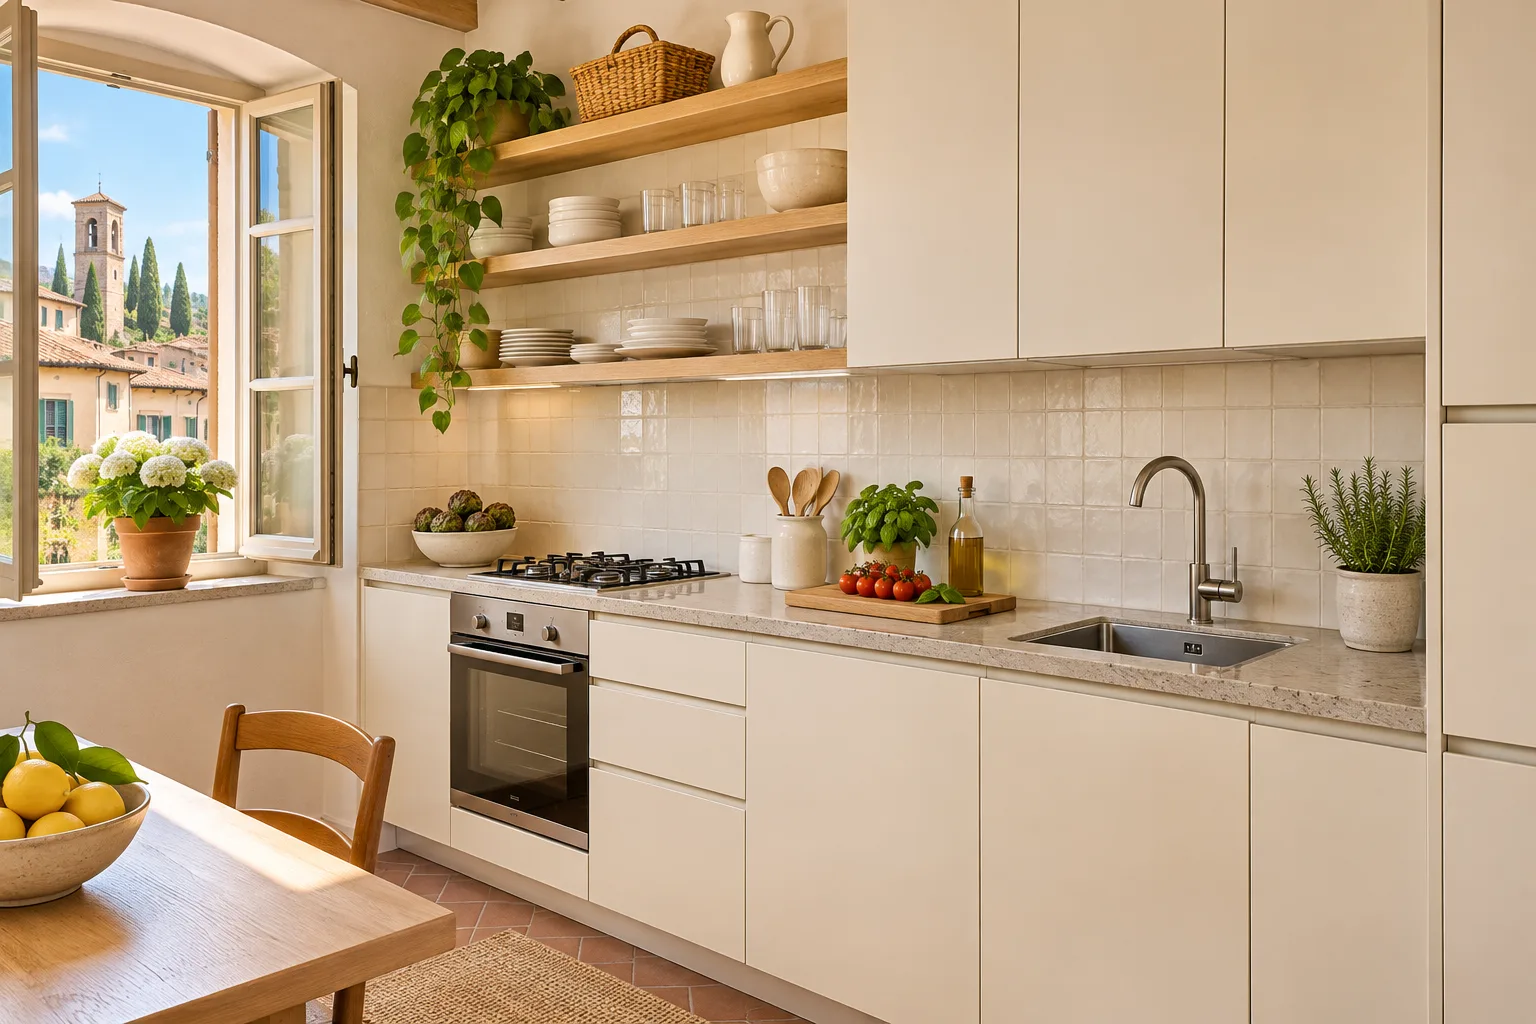
The floor looked even until the base units arrived
In this illustrative case, a Pianella kitchen needed new base units while retaining its tiled floor. From the door, the surface looked even. With the old cabinets removed, the fitter found a variation along the wall and a high spot near the corner. Adjusting the fronts separately would change the worktop line. Levelling the units without drawing the floor edge would leave a varying gap below the plinth. The professional put the old surface, cabinet feet and worktop height on one section. This showed which variation came from the floor and which could be accommodated by the cabinets before the visible edge was specified.
The lower part of the kitchen had functions to preserve
Some base units needed access to service points underneath. A built-in appliance had specific opening and ventilation requirements in the plinth area. The supplier checked the instructions and marked places that had to remain available. The team compared a shaped continuous piece with two sections meeting in a less visible position. One length would look continuous and make it harder to reach one point without removing a large piece. Separate sections offered clearer access and introduced a join to design. The fitter showed where supports would stand against the floor. Both options were assessed for service access and cleaning as well as how they would look.
The finish sample followed the tile line
The household compared a finish close to the cabinets with one that echoed the floor. The first made the plinth read as part of the cabinets. The second blended into the shadow and emphasised a tile joint at the high spot. They looked while standing and seated at the table. The supplier explained which edges and pieces fitted the system. They chose separate sections corresponding to the access points. The drawing included the corner, the dishwasher opening and the end beside the door. Final dimensions for each piece depended on where the levelled cabinets actually stood. That condition was recorded before the plinth order went ahead.
Fitting established the worktop level before finishing at the floor
The fitter placed the base units and checked their alignment before ordering the plinth pieces. At the intermediate check, the coordinator compared a trial length with the variation in the existing tiles. The team checked appliance movement with the intended front and lower edge. A removable section was adjusted to preserve access to the service point. A photograph recorded heights and feet before they were concealed. The file showed where the existing tiles stayed and which sections were protected during work. Once the approach to the service point had been checked, the finish could be completed while leaving that space clear.
Handover focused on the low edges
At the illustrated handover, the household looked from the doorway and opened the fronts nearest the plinth. The fitter showed removable points under the system instructions and demonstrated where routine cleaning could reach. The coordinator compared the substrate photo with the final positions. The result kept the tiled floor while distinguishing the cabinet level from the uneven edge. Instructions stayed with the kitchen drawing so a later appliance could be checked against the same space. The work ended with an inspection of details that had seemed straightforward before anybody looked at the floor line and cabinet openings together.
Pianella · PE · Abruzzo · Distance and service-area coverage ↗
How we prepare the guides: sources and illustrative scenarios