Casa Pescara
Kitchen · 3 min · Published
Pescara kitchen renovation coordinating the tap and window opening
An illustrative case in which a sink moved after trials with the window, tap and access to the cabinet below.
Illustrative scenario · A narrative example of work stages and final checks; it does not document an actual completed project.

The window met the tap lever
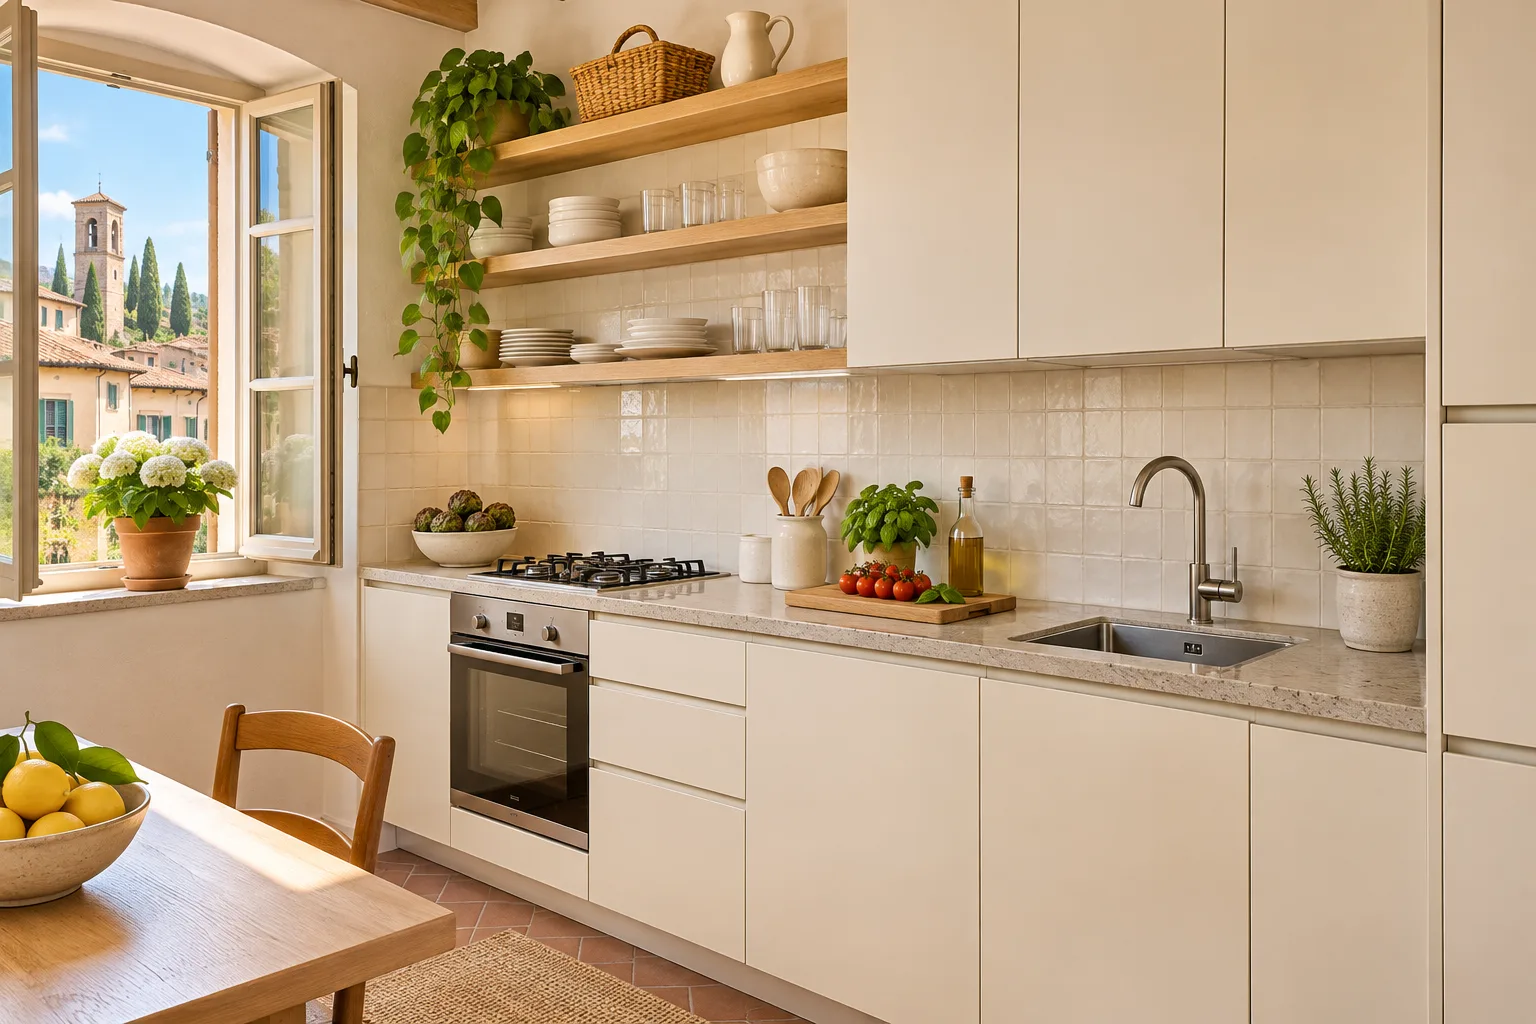
In this illustrative Pescara case, the kitchen had been refurbished about fifteen years earlier. The sink sat beneath the window and the replacement worktop would keep almost the same layout. At the survey, the window was opened while the tap lever was in the position used to wash a pan. The window leaf came close enough to brush it. With the lever at rest, the problem looked smaller and had not appeared in the first measurement. The designer photographed both arrangements and added the window's path to the plan. Before ordering the worktop, the team would check where the tap actually sat and what access the connections needed through the base cabinet.
The sink position had two constraints
The supplier showed the drawings of the components being compared. The fitter checked the window level, and the plumber examined where the existing connections ran. The first option kept the sink centred and moved just the tap. A mock-up showed that reaching the basin edge from there was harder while holding a pan. The second moved the sink and tap slightly, keeping the worktop junction in an accessible area. The space inside the cabinet was also measured with its door open. The drawing changed because the usable space differed from the outside width shown for that unit in the catalogue.
A pan moved the tap before the worktop was cut
The mock-up was tried with the pan most often used and the window open as it normally stood. One lever movement still brought the hand close to the window leaf. The tap moved on the template and was checked from both sides of the basin. The window reached the agreed opening without brushing the lever. The plumber also checked that the connections stayed accessible after the slight move. Only then did the supplier receive the updated dimensions. The drawing showed the basin edge, tap centre and part of the cabinet to keep clear for handover checks as separate items.
Checking with the cabinet complete
The worktop went in after the finished dimensions were checked. The plumber examined the connections while the cabinet door was still clear. At handover, the window opened, the tap was used and the same pan from the trial went back into the basin. The space below the sink was then checked with the stored objects already in the cabinet. The file kept the drawing with confirmed measurements, the tap reference and a photograph of the open cabinet. Another photograph showed the window and lever in the arrangement that had changed the design.
Before ordering a worktop beneath a window
Bring the sink and tap specifications and show how you open the window while using them. Ask the surveyor to include the window swing, the hand on the lever and access to connections. Try the mock-up with a pan, then approve the dimensions before cutting. At handover, repeat the opening and tap tests and have the service points identified. Keep the photos and drawing. When replacing the tap later, compare the shape and movement of the new lever with the window before buying it. Keep a record of the lever in use and a photo of the window at its widest agreed opening. Both will help reproduce the original clearance trial.
Pescara · PE · Abruzzo · Distance and service-area coverage ↗
How we prepare the guides: sources and illustrative scenarios