Casa Pescara
Kitchen · 3 min · Published
Pescara kitchen renovation with a drying rack and removable drip tray
An illustrative case about hand-washed dishes, where the drips went and removing the tray after worktop renewal.
Illustrative scenario · A narrative example of work stages and final checks; it does not document an actual completed project.
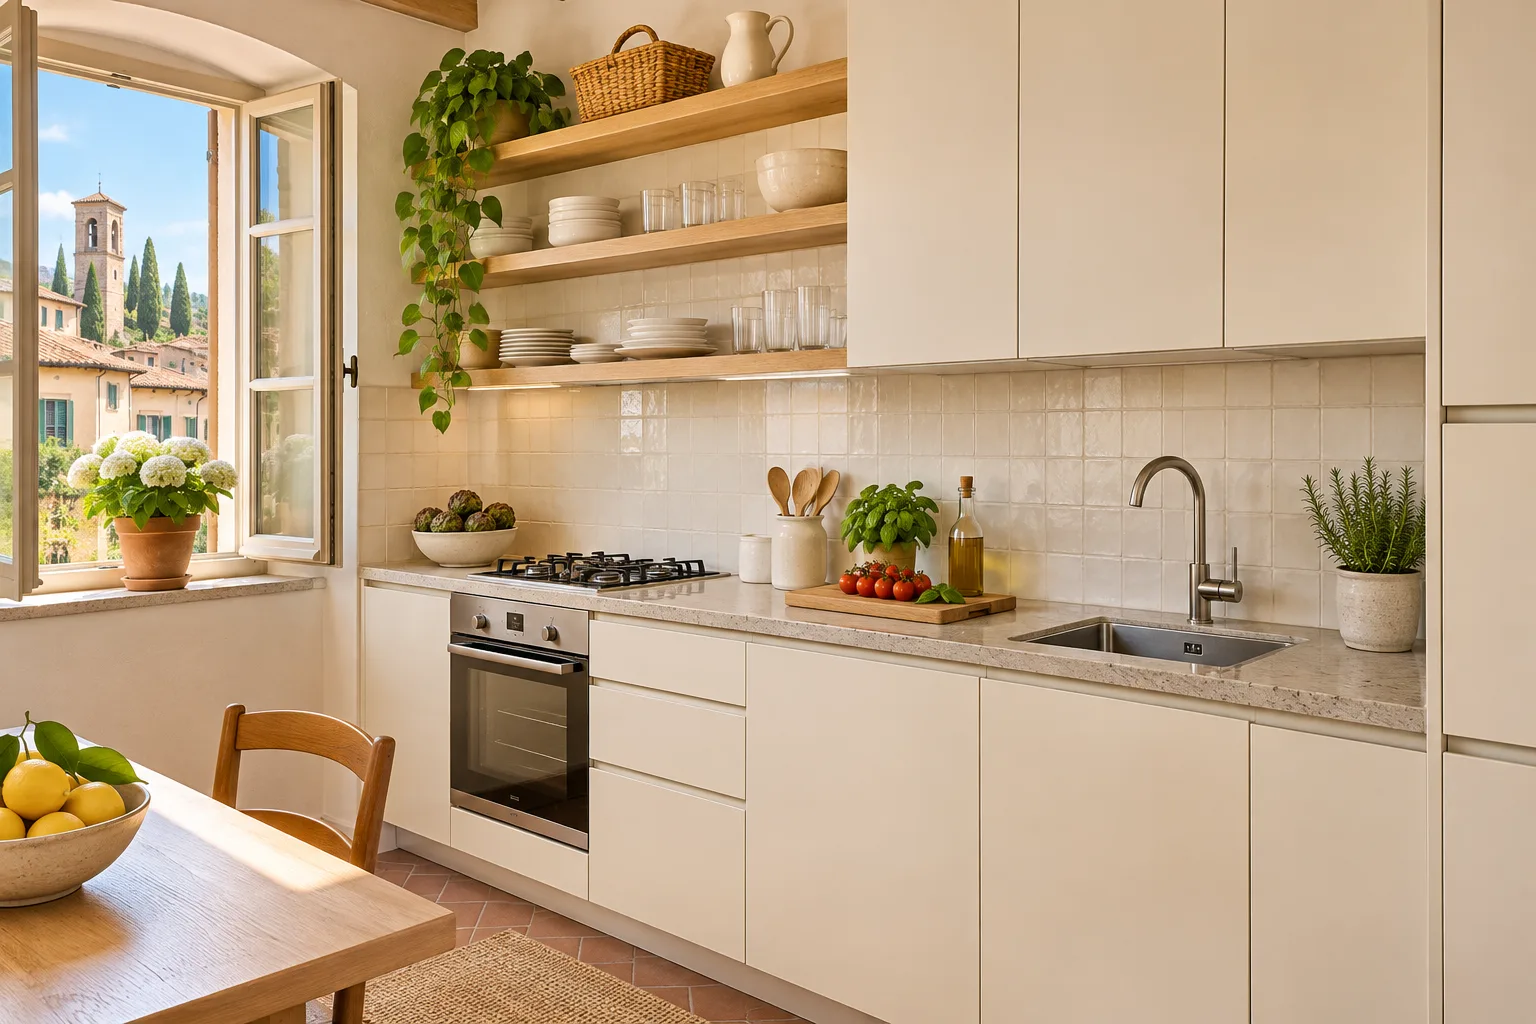
Drips reached beyond the edge of the sink
In this illustrative Pescara case, the kitchen had last been refurbished about fifteen years earlier. Hand-washed dishes went onto a rack beside the sink. Water marks sometimes appeared beneath the rack, chiefly after someone moved the tray to empty it. The first proposal put a wider rack on the new worktop. At the survey, the movement was repeated with two plates and a cup. Drips fell while the dishes moved and again when the tray lifted, so there were two distinct routes to consider. The designer marked them before confirming where the work surface next to the sink would end.
The tray needed more room to come out than the rack
The sink, worktop and space occupied by tilted plates were measured. A mock-up showed that the new rack fitted the proposed area. The tray came out on the utensil-holder side, however, and had to turn before reaching the sink to empty. A second layout turned the rack so the tray faced the basin. During the trial, the tallest plate passed close to the bottom of the wall cabinet. The design recorded that height as well as the depth of the new worktop. Two positions went forward for comparison with the dishes actually used, keeping the tray size the same.
A large cup widened the side clearance
In the second position, the tray slid out toward the sink. Placing a wide cup on the rack, however, brought the person's hand against the wall cabinet. The rack moved a little while keeping the tray's short route. The trial worked with the plates in place and the cup coming from the clear side. The team also checked where the tray could rest during cleaning without wetting the edge by the wall. Before the new worktop was confirmed, the supplier received the sketch with the required clearance and the position of the drying rack.
The last trial used freshly washed dishes
The worktop was completed and its edge beside the sink checked before the rack went in. At handover, two plates and the trial cup were washed. The drips were observed, and the tray came out and went to the sink without being turned over the worktop. The area behind the rack was checked with the tray removed. The handover sheet showed the position of the rack and included the component instructions. A photo from above recorded the area to keep clear between the utensil holder and worktop edge.
Drawing the drip route before buying
Bring a large plate and the widest cup. Show how they travel from sink to rack and where you empty the tray. Try the movement with dishes already on the rack. Ask for the clearance to go onto the worktop drawing. At handover, repeat the route with freshly washed dishes and inspect behind the rack. Keep the photo and follow the care instructions. If you add a utensil holder, make sure the tray still slides directly toward the sink. Record the direction in which the tray comes out and where to set it down while cleaning the rack. Before replacing the rack, compare its footprint and the space needed to pull out the tray, using the picture of the worktop in the arrangement you tested.
Pescara · PE · Abruzzo · Distance and service-area coverage ↗
How we prepare the guides: sources and illustrative scenarios