Casa Pescara
Bathroom · 3 min · Published
Bathroom tiling over two substrates in Torrevecchia Teatina
An illustrative renovation follows the join between an existing bathroom wall and a new lining before tiling.
Illustrative scenario · A narrative example of work stages and final checks; it does not document an actual completed project.
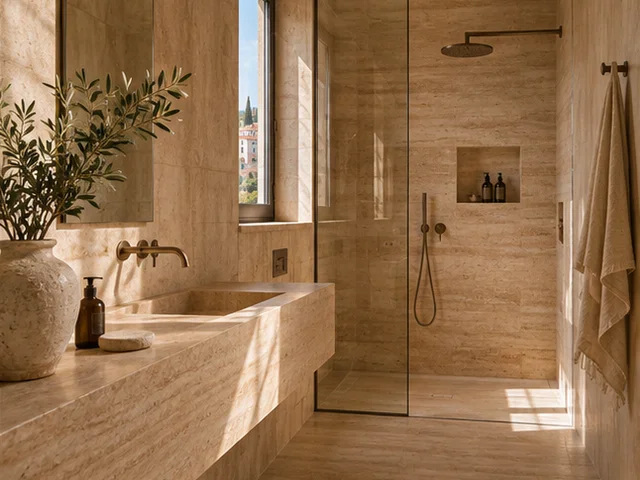
The old wall continued behind the basin
In this illustrative case, a bathroom in Torrevecchia Teatina retained one existing wall and gained a short section of lining by the shower. The new tile would cross the junction between the two substrates. During removal, the tiler found an old plaster repair behind the previous cabinet. The patch looked different from the surrounding material and needed examination. The first drawing showed a continuous surface without the hidden transition. The coordinator marked the existing area, the new lining and the places where dimensions changed. Before confirming the tile format, the household asked which checks had to take place and which could only be completed with the old finish removed.
The checks defined how the two surfaces would meet
The relevant professional assessed condition, evenness and compatibility for the proposed system. The record identified stable areas, places needing preparation and any points still to examine. The tiler overlaid the joint layout on the substrate transition. One option put the hidden join in the middle of a large tile. Another let the project coordinate the position with a detail allowed by the system and the screen edge. The team chose to define the transition first and then settle where the tile pattern would start. An elevation and section showed the decision, giving the substrate and tiling teams the same dimensions.
The sample showed the most visible line from the door
To compare formats, the tiler laid out several samples with the proposed grout and a piece of trim for the screen. The household looked from the door and the standing position at the basin. The larger tile left a thin cut in the corner. The smaller one made the joint pattern more visible. They selected a format that gave a clear distance from the edge and allowed the transition to follow the agreed detail. The tile references were recorded with the substrate specification. The sample helped assess appearance after professionals had established how the two surfaces needed to be prepared.
Tiling began after the intermediate check
The wall was prepared and the coordinator recorded the junction while it was visible. Where waterproofing was specified, the professional checked products and details against the documentation for the system. The result of that check determined when tiling could start. A difference in thickness near the old plaster required a change to an end trim on the drawing. The screen installer received the revised dimension before fitting. The file kept dated photographs and a note identifying the area that had been repaired. The final installer did not have to reconstruct a concealed detail, and the record preserved the distinction between the finish and the preparation below it.
Handover checked the edge, screen and cleaning access
During the illustrated handover, the household looked along the screen under ordinary lighting. The coordinator checked the trim, opening and room to clean along the edge. Pictures of the concealed layers were compared with the final drawing, and the tile, grout and preparation references went into the file. A leftover piece was labelled for any future repair. The scenario ended with a visually coherent wall and a documented transition. If the screen or basin changes later, the person surveying the room can find the dimensions and the junction between substrates. The survey records remain useful beyond the original decision about the appearance of the room.
Torrevecchia Teatina · CH · Abruzzo · Distance and service-area coverage ↗
How we prepare the guides: sources and illustrative scenarios