Casa Pescara
Bathroom · 3 min · Published
Wall tiling behind a wall-hung toilet in San Giovanni Teatino
An illustrative case about shaping a large wall tile around toilet connections while keeping the cistern accessible.
Illustrative scenario · A narrative example of work stages and final checks; it does not document an actual completed project.
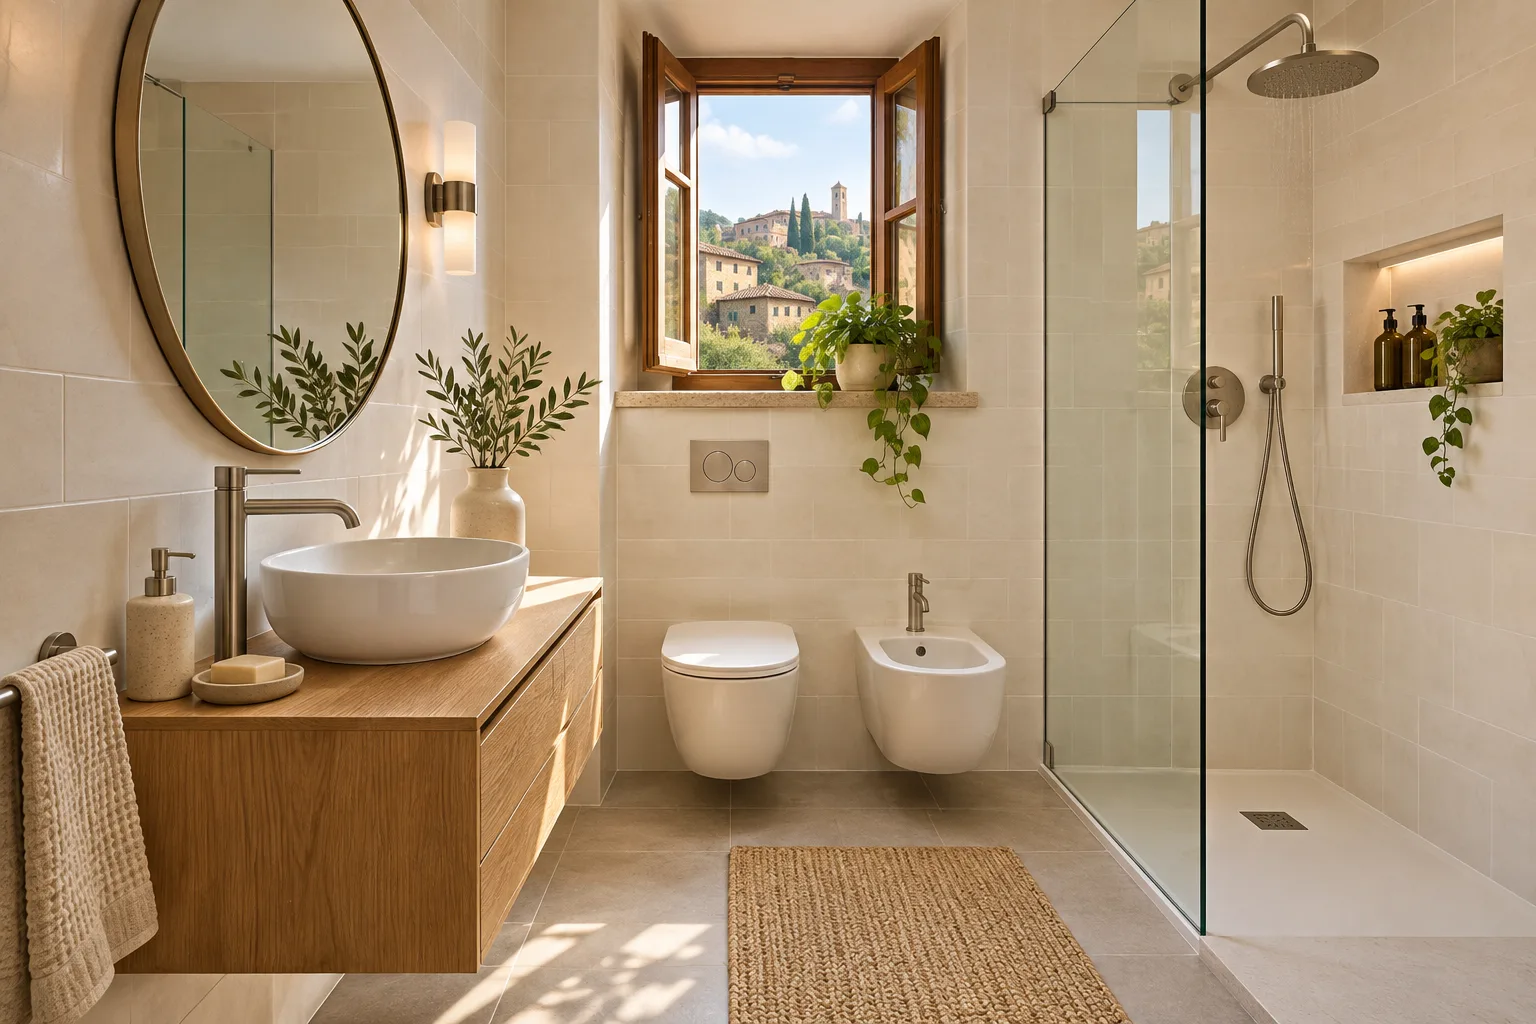
The proposed tile met several openings
In this illustrative case, the wall finish in the San Giovanni Teatino bathroom dated from a renovation about fifteen years earlier. The initial drawing used a large tile behind the wall-hung toilet, with joints aligned with a shelf at the side. On the elevation the toilet and flush plate seemed to sit in an open area. Measurements showed that the toilet fixings and connections would be close to the proposed cut line. The frame and cistern were already due for a separate inspection. The wall finish and plumbing surveys were brought together before anyone specified the size of tile to order.
Measurements taken after removal
Once the fixture and affected wall finish came away, the technician examined the support system and identified the parts to keep. The plumber checked the connections and the documents available for the model. The tiler measured each opening in its actual position and added the finished levels to the template. The first template, taken from the drawing, put one hole off centre relative to a fixing. A stable point on the wall became the reference for the revised drawing. The space to remove the flush plate was also marked around its opening because the dimensions of the outer trim alone did not describe the access required.
Checking the material against the cut shapes
The supplier examined the geometry against the instructions for the tile. In the first version, one cut came near the edge of a narrow area. The tiler proposed moving a joint to a clearer position while keeping the visible alignment with the side shelf. A layout with smaller tiles was also compared. The large tile remained the choice once its layout was revised, the bearing surface inspected and the joint positions viewed from the doorway and basin. The final drawing listed the retained system and showed which parts needed to stay accessible behind the plate. It also marked the fixed edges that defined the installer’s reference line.
Trial fitting between tiling and reassembly
Before the tile was secured, a checking template was placed against the wall at the intended finished level. The plumber tried the cistern access and the tiler checked the bearing surface around the openings. On the first trial, an edge of the trim contacted the finish sample at one side. The detail was revised before the tile went in. After assembly, the plumber checked the toilet and observed several flush cycles. The flush plate was removed and replaced to make sure the new thickness allowed its intended movement. Photographs taken while the wall was open were kept with the drawing.
Coordinating the tile with the connections
Ask the plumber and tiler to check the template and access together before ordering. The handover file recorded the practical sequence: identify the connections, measure with the wall open, check how the tile could be cut, try a template and verify cistern access after tiling. Cleaning instructions distinguished the tile surface from the flush plate and other components. The drawing also showed which offcuts had been kept and where to gain access for inspection. The household received numbered photographs so that future work could locate openings without inferring their dimensions from the apparent position of the toilet. The maintenance sheet gave the model references alongside the pictures of the concealed components.
San Giovanni Teatino · CH · Abruzzo · Distance and service-area coverage ↗
How we prepare the guides: sources and illustrative scenarios