Casa Pescara
Bathroom · 3 min · Published
Bathroom renovation in Ascoli Piceno with a new screen on the existing tray
An illustrative Ascoli Piceno shower screen replacement, covering tray checks, old fixing holes and a water test.
Illustrative scenario · A narrative example of work stages and final checks; it does not document an actual completed project.
The tray stayed and the screen came out
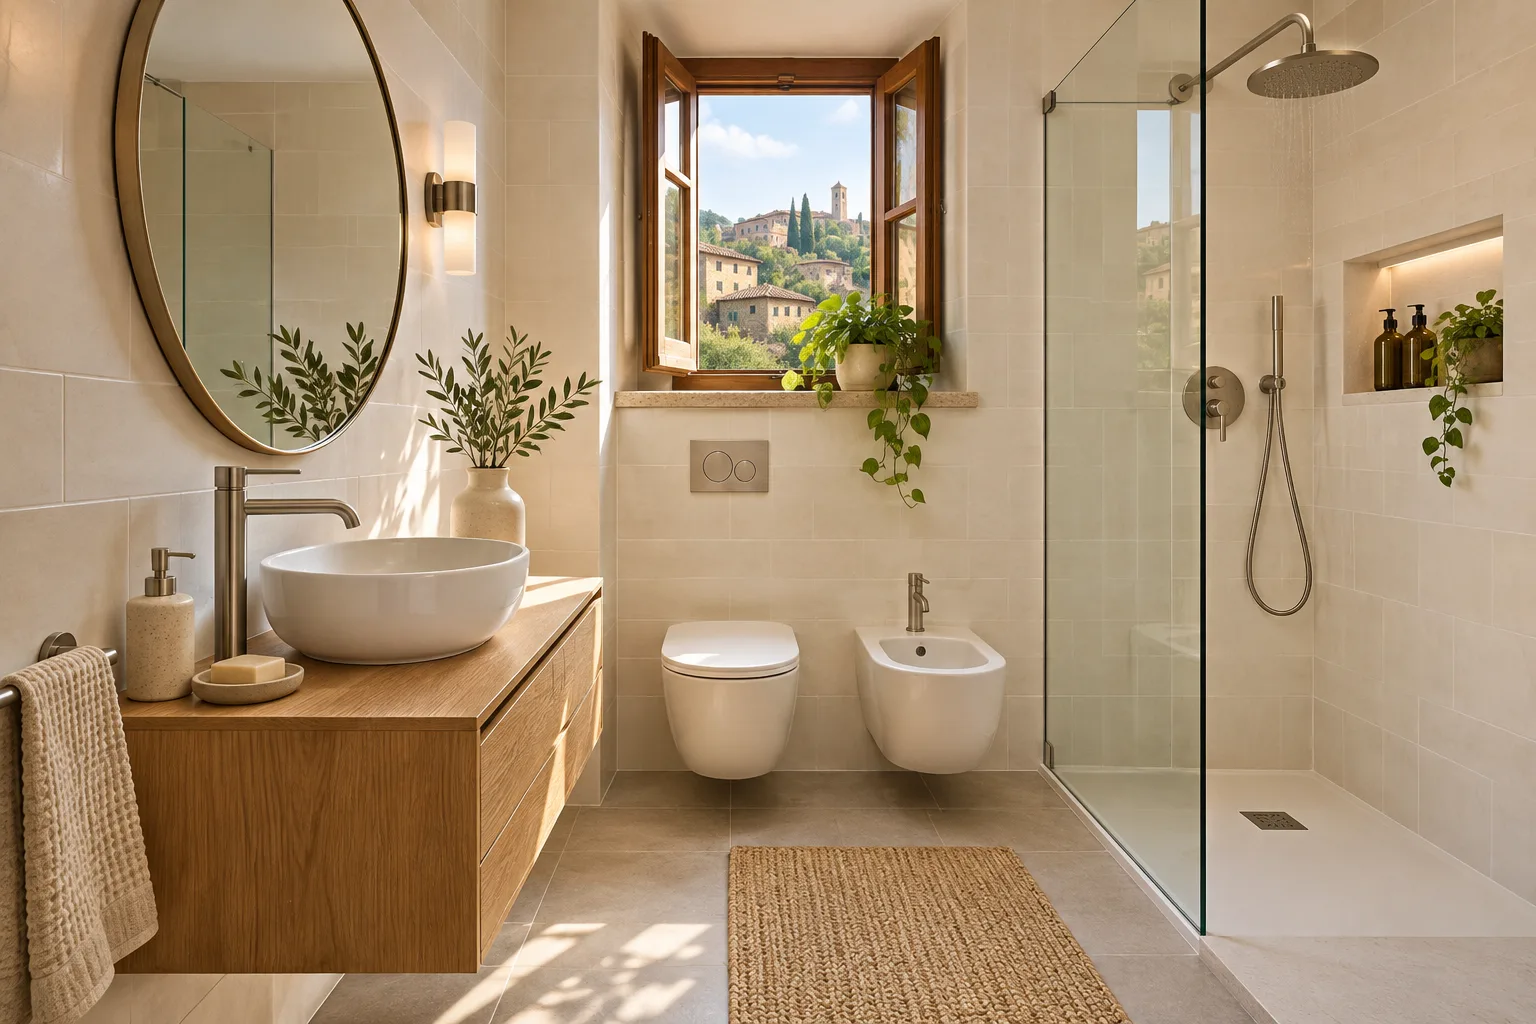
In this illustrative case, a bathroom renovation in Ascoli Piceno involved fitting a new shower enclosure while keeping the existing tray. The sliding door of the old enclosure caught, and its track had bent near the entrance. Before removal, the area supporting the profiles, the surface of the tray and the visible junctions with the walls were inspected. The first photograph made the two edges look the same. Measurements showed that the usable ledge narrowed on the basin side, where one tile projected farther than the others. The replacement profile needed to be chosen against the actual dimensions of the tray and wall finish still in place.
Recording the old fixing holes
Removing the screen exposed a row of holes in the side wall. Some belonged to the enclosure just taken out, while others were concealed beneath remnants of sealant. The locations were photographed and marked on a wall elevation, identifying which would remain exposed. The holes were inspected before the repairs to the affected areas were specified. Two profiles with different widths were then compared. The wider profile covered more wall but could not sit entirely on the usable ledge of the tray, so it was set aside. The narrower profile left one point visible that needed repair, while using the support available on the tray.
Checking the opening with the basin in place
The new enclosure was checked with the basin and towel rail in their actual locations. An outward-opening door reduced the room to stand at the basin. The selected sliding model provided a usable opening and allowed access to the track for routine cleaning. Its installation dimensions were compared with the manufacturer’s documentation before ordering because the distance between the walls changed slightly from the tray ledge to the top. A sample of the profile was then placed at the critical points to check that it had continuous support along the ledge. That test also kept the revised glass line clear of the projecting wall tile.
Trial fitting the profiles before the glass
After the affected surfaces had been repaired, the installer offered up the profiles before securing the glass. On the basin side, the new track line was checked against the change in level at the edge. A small adjustment within the instructions for the model brought it onto the intended support. The passage width was measured again, and the installer checked alignment, fixing positions and access for cleaning. Permanent fitting followed the details for the selected enclosure system. The materials used at the edge junctions were given the specified time before the shower was tested with water in the completed enclosure.
The final checks
At handover, the door was slid back and forth several times, including from a partly open position, to check the closing action and grip at the handle. The shower spray was directed through its usual positions while the basin side, the base of the profiles and the repaired locations were observed. The trial also checked that water travelled back to the drain across the unobstructed surface of the tray. The final sheet recorded the enclosure model, how the track could be reached for cleaning and which surfaces contained repairs to the previous fixing points. The photographs retained with that sheet made the old locations identifiable after installation.
Ascoli Piceno · AP · Marche · Distance and service-area coverage ↗
How we prepare the guides: sources and illustrative scenarios