 Casa Pescara
Roofing · 3 min · Published
Movement in a standing-seam metal roof in Spoltore
A crease formed near the end of the metal panels. This case follows a comparison between the intended detail and the observed movement.
Illustrative scenario · A narrative example of work stages and final checks; it does not document an actual completed project.
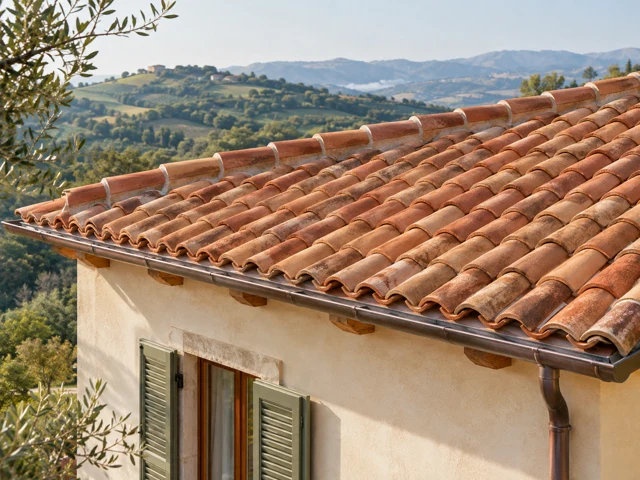
The crease changed during the day
In this fictional scenario in Spoltore, a standing-seam metal roof over an addition had last been repaired about fifteen years earlier. The fictional occupant noticed a crease near the edge when the sun reached the roof. In two photographs taken at different times of day, the crease seemed to change. The technician asked for the photographs to be kept and scheduled the work in three steps: observe the edge, check where movement was restrained, and inspect the restored junction. From ground level it was unclear whether the change came from the light or from actual movement. The first visit therefore started by identifying the installation detail instead of ordering replacement panels.
The edge trim had been fitted later
The contractor set up protected access and compared the affected stretch with a nearby section. Where the crease appeared, a later edge trim reached the ends of the panels. The technician checked the restraint points against available records and examined how the trim connected to the fixed portion. Both areas looked similar from the ground, but the unaffected section retained a clearance provided by the system. The crew recorded the end profile before opening the authorised area. No trace of water was found in the material beneath that point. The immediate problem concerned restraint at the edge, while the condition of the covering farther away went into a separate part of the survey.
The designer preserved the function of the junction
The technician decided to repair the edge and retain the panels that had passed inspection. The new trim needed to maintain weather protection towards the elevation and leave the clearance required by the roofing system. Metal compatible with the adjacent components was specified, and the fixings were drawn relative to the moving parts. A sample made to the surveyed section allowed the contractor to check clearances before ordering. Particular attention went to the end, where the old trim changed direction. The design called for a separate shaped piece there, rather than extending the straight trim until it touched the panel.
The clearance was checked while the trim was open
After local removal, the contractor compared the panels with the survey photographs. The technician checked the edge before approving installation. The crew trialled the new trim on the straight run and at the turn, where the crease had been most evident. Permanent installation followed the approved detail. Before closing the junction, the team photographed the fixings and the clearance beside the moving component. The alignment of the finish was checked from the courtyard, while the drainage point was inspected from the work platform. Access, opening and close inspection stayed with the equipped contractor throughout the work.
What evidence to request for a metal roof edge
Take two photographs from the same position and note when sunlight reaches the roof. Ask a technician and an equipped roofing contractor to separate changes in light from movement and compare the area with a sound section. Before ordering anything, ask to see the section drawing showing the fixed edge, the intended clearance and the shaped end. Approve the repair once the team has identified which panels will stay. At handover, keep an image of the clearance before it was concealed and a fresh ground-level view. If a mark appears later, use the same viewpoint and include the time when requesting an inspection.
Spoltore · PE · Abruzzo · Distance and service-area coverage ↗
How we prepare the guides: sources and illustrative scenarios