Casa Pescara
Painting · 3 min · Published
Painting window reveals in Pescara beside an external shutter
An illustrative painting case in which opening and closing the shutter changed the paint choice for the window reveals.
Illustrative scenario · A narrative example of work stages and final checks; it does not document an actual completed project.
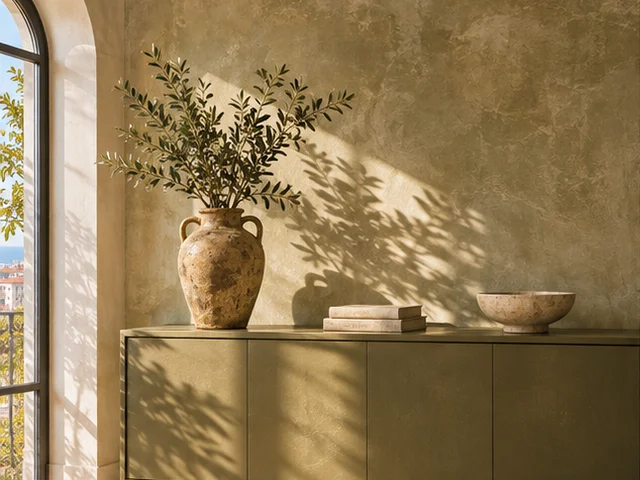
The shadow followed the shutter rather than the wall edge
In this illustrative Pescara case, the window and reveals had been finished about fifteen years earlier. The room was being repainted and the shutter would stay. At the first comparison, one side of the opening looked darker than the other. The difference changed as the shutter opened fully. Part of the shadow moved while a small dark area beside the sill remained visible. The decorator asked to observe it with the shutter in three positions before deciding whether the surface needed repairs or the paint needed changing. The frame edge, sill and place where the mark stayed fixed all went onto the sketch.
Checking the stretch beside the sill separately
With the shutter open, the fixed patch aligned with a previously repaired edge. A lamp positioned indoors helped show it when daylight changed. That repair was marked without extending it into the stretch that looked dark only with the shutter partly closed. The decorator prepared two samples in the same finish. They went first onto the brighter reveal and then onto the other side at the same height. The photograph included both samples with the shutter in its usual afternoon position. The results were discussed in the room because the sill reflection made the sample nearest the glass look lighter in the photo.
The comparison changed the paint plan for both sides
The first plan used different colours to balance the shadow. With the shutter fully open, however, the colours appeared separate, especially from the door. The same colour was tried on both reveals, with targeted preparation along the edge beside the sill. The shadow could still be recognised as the shutter moved, while the fixed mark became less visible after the sample repair. The plan therefore retained one paint colour throughout the opening. It also marked where the reveal colour met the wall paint, so that the boundary could be checked with the window in normal use.
Testing the window before clearing the room
The surface at the marked spot was prepared and its edge against the sill checked. Painting continued on both reveals while the frame stayed protected. After uncovering the area, the open window and the shutter in motion were checked. At handover, the opening was viewed in daylight and again with the room lamp. The sheet distinguished the small surface repair from the moving shadow and recorded the approved sample. A photograph from the door showed the paint junction on both faces, with the shutter where it had been during the first survey.
Choosing paint next to a shutter
Compare the opening with the shutter open, partly closed and shut. Mark shadows that move and ask for fixed marks to be examined separately. Test samples at the same height on both reveals and look at them from the door as well. At handover, repeat the movement and inspect the edge at the sill before curtains or objects go back. Keep the boundary photo and paint reference. If a new mark appears after cleaning, view it with the shutter in several positions before requesting a local repair. Record the time and lamp position with the photograph. A later comparison can then reproduce the conditions that showed the junction beside the frame most clearly.
Pescara · PE · Abruzzo · Distance and service-area coverage ↗
How we prepare the guides: sources and illustrative scenarios