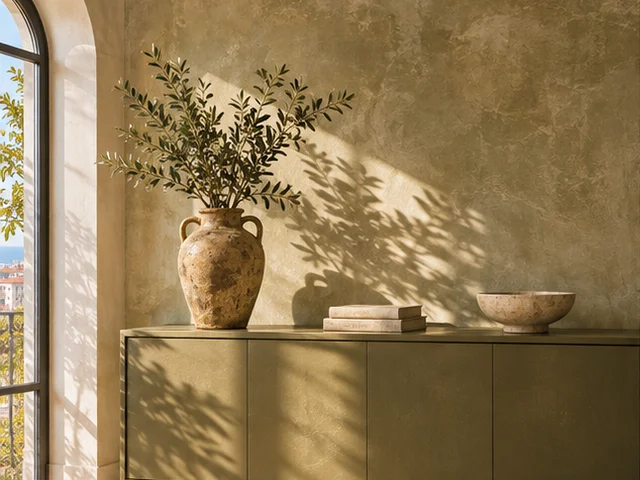
Casa Pescara
Painting · 3 min · Published
Painting a wall for object photography in Pescara
An illustrative case about a small room where trial photographs changed the finish and the backdrop position.
Illustrative scenario · A narrative example of work stages and final checks; it does not document an actual completed project.
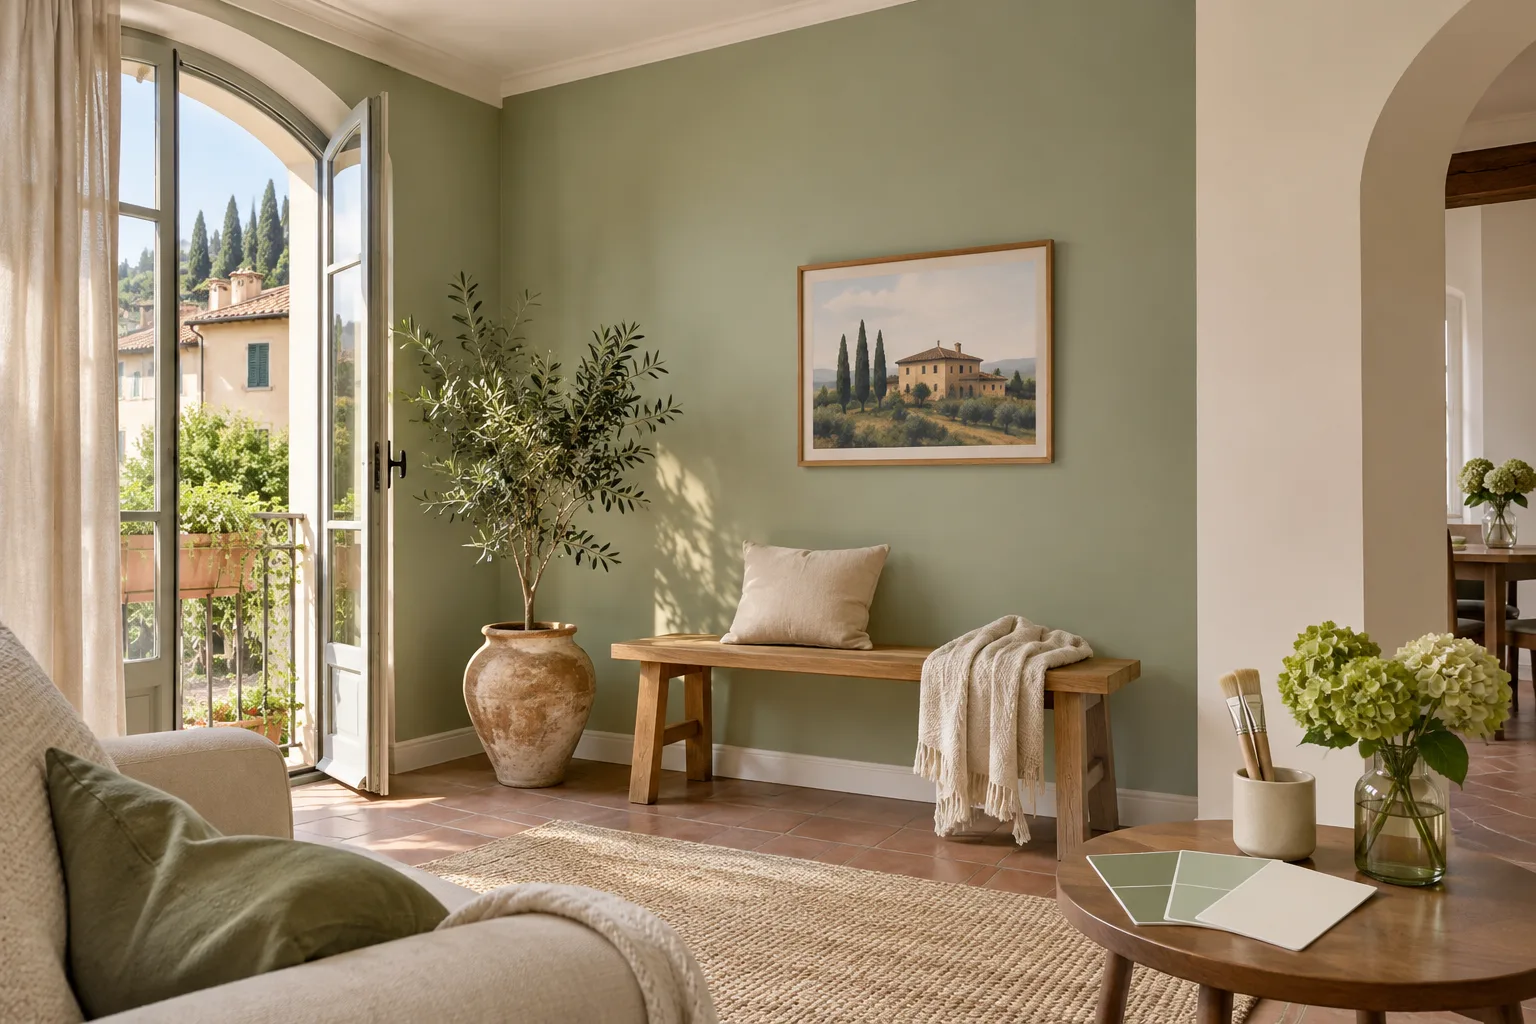
The wall looked even to the eye
In this illustrative Pescara case, a room had been decorated about fifteen years earlier and was now also used to photograph small objects. In person the wall looked even. Images showed a lighter patch just above the table. The first brief was to paint a neutral rectangle behind the work surface. The survey recreated the photograph using the usual lamp and camera support. The pale area changed when the light moved, while a small surface mark stayed in the same place. The decorator separated those effects before preparing samples. A room photograph also recorded where the table and camera support stood.
The framing changed with the height of the object
A photograph of a low object showed mostly the table. With a taller object, the proposed boundary of the rectangle came into the frame. The decorator drew both views before comparing colours. A neutral board was tested with the lamp in its usual position. The first shade looked balanced to the eye, but the reflection by the lamp was still apparent in the photograph. A second finish was tested under the same conditions, with the camera settings and viewpoint unchanged. Comparing the pictures this way separated the appearance of the finish from any change in exposure or position.
Preparation began with the fixed mark
The point that did not move with the light was examined and included in the surface preparation. The trial was viewed with the table back on its original mark. The second finish worked better in the views that had been tested. The colour would go as far as the edges of the wall, avoiding a line in the higher framing instead of painting the rectangle. The room still served other activities. Before the final choice, the sample was viewed in normal light from the entrance. The drawing retained both the paintwork boundary and the area that received more surface preparation.
The final photographs repeated the first trial
The wall was prepared and finished before the table and lamp came back. At handover, both the low and tall objects were photographed again using the trial settings. The wall was then viewed without the photography lamp and with the room in its normal arrangement. The place where the former mark had shown was inspected at close range. The record included the paint reference, lamp position and camera viewpoints. An overall photo also showed the edge beside the door. The comparison images stayed together so the conditions at the first survey and at handover could be recognised.
Testing a backdrop before choosing the paintwork
Bring two objects of different heights and photograph them with your usual equipment. Ask the decorator to examine marks that stay in place as the light moves. Test the samples with the same settings and choose the boundary using the wider framing. At handover, repeat both pictures and look at the wall without the equipment as well. Keep the photographs and the finish reference. If you move the lamp or table, take a fresh picture and compare it with the handover image before requesting a paint repair. Record the camera height and the distance from table to wall as well. These references help when the equipment is put away and later brought back into the room.
Pescara · PE · Abruzzo · Distance and service-area coverage ↗
How we prepare the guides: sources and illustrative scenarios