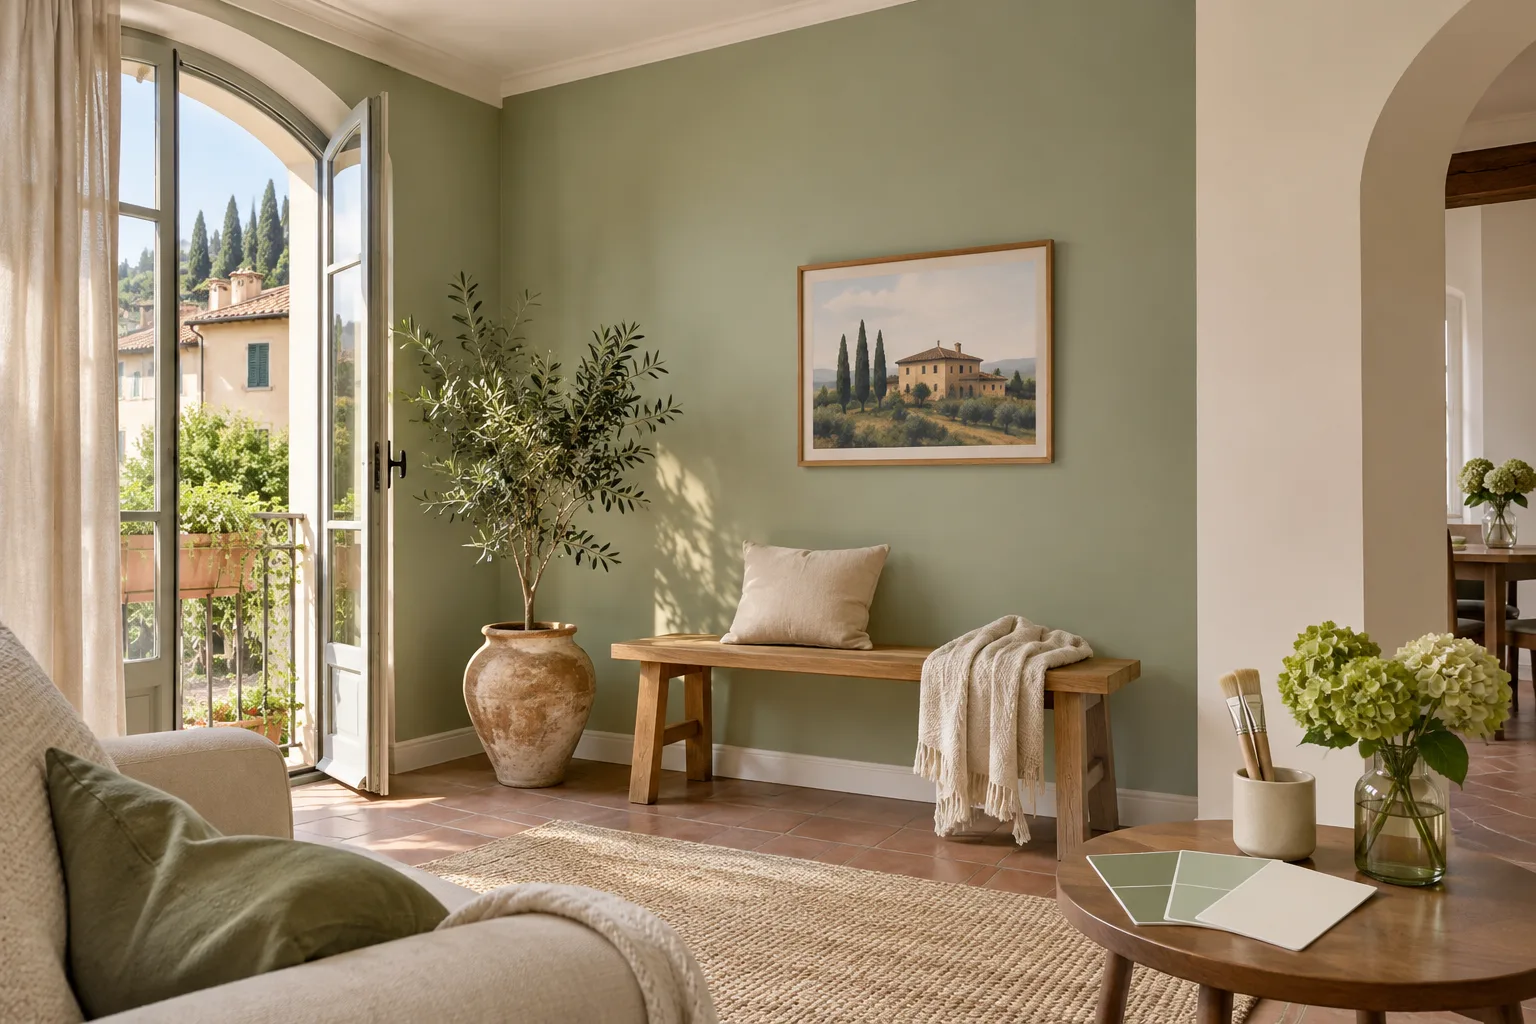
Casa Pescara
Painting · 3 min · Published
Painting in Ortona after a built-in cabinet exposed bare plaster
An illustrative case about joining newly exposed plaster to a previously painted wall after taking out a cabinet.
Illustrative scenario · A narrative example of work stages and final checks; it does not document an actual completed project.
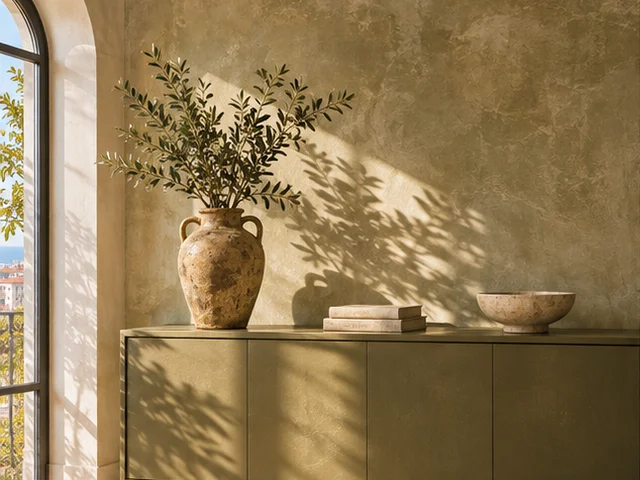
The cabinet had covered a different surface
In this illustrative Ortona case, a built-in cabinet came out before a room was painted. Behind it was a stretch of plaster that had never been finished like the surrounding wall. The border followed the top of the cabinet and ended near a corner where an earlier repair stood slightly proud. The area was larger than the original brief suggested. At the survey, the decorator marked the visible joins, the previously hidden points and the painted section that would stay accessible for comparison. The new layout left the wall clear, so the whole rectangle would be visible from the door once the room was back in order.
An old joint altered the surface too
The wall was viewed straight on and then from the side. In direct light, the different background colour stood out. From the side, the small step near the corner was more noticeable. Both observations went on the same photograph with separate markers. The decorator also examined two fixing points left in the bare area. The work was divided into removing parts that were no longer needed, preparing the surface and testing the finish. Space in front of the rectangle stayed clear so the top edge could be viewed from the same position after each check.
The first sample crossed between the two surfaces
The trial did not go in the centre of the bare patch. Instead, it covered a section where the sample crossed from exposed plaster onto the previously painted wall. At the first check, one side looked even while a strip still showed on the other beside the old repair. The transition was adjusted and preparation widened around that strip. Before painting the rest, the comparison was repeated from the far corner of the room. The cabinet outline was still marked in the photograph, so the team could look for it even when the difference became harder to see.
Completing repairs before applying colour
Preparation around the former fixings was completed, and the upper line of the rectangle was checked without covering material between it and the light. Painting continued to the chosen corner along the boundary marked on the plan. The transition by the skirting was checked close up because one stretch had stayed in shadow until the cabinet came out. The area where a low seat would go was also examined. The seat stayed out during the first check, then returned to its intended position to see how the upper and lower parts of the wall read together.
Handover with the wall visible from the door
At the end, the wall was viewed from the door, from near the corner and from the seat in its final place. Survey photographs were compared with the area that had actually been prepared. The removed fixings and the old transition went into the notes alongside the product used for the finish. The room light went on, and the upper stretch where the cabinet had previously ended was checked again. The record distinguished the previously painted section from the surface exposed during the work. The final photograph showed the full height of the wall and the point where the paintwork ended at the corner. The side-fixing area was checked from the seat turned toward the wall. That position gave a view of the transition without looking directly into the room light.
Ortona · CH · Abruzzo · Distance and service-area coverage ↗
How we prepare the guides: sources and illustrative scenarios