Casa Pescara
Parquet · 3 min · Published
Parquet at a landing and stair nosing in Teramo
New parquet met an existing staircase. This scenario follows the riser survey and selection of the nosing before installation.
Illustrative scenario · A narrative example of work stages and final checks; it does not document an actual completed project.
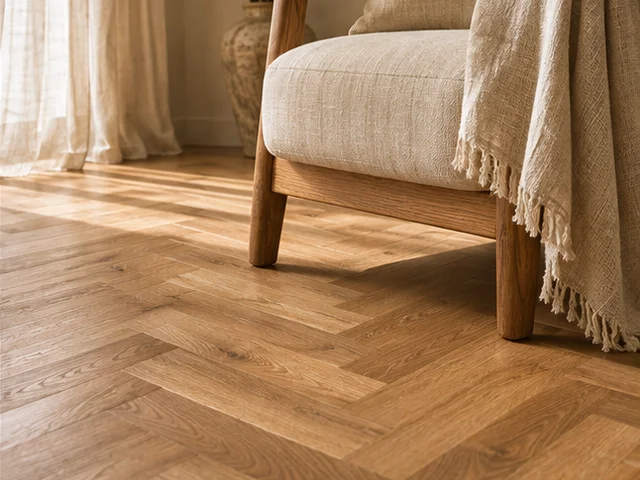
The top riser set the available thickness
In this fictional scenario in Teramo, the upper landing was due to receive parquet while the staircase stayed in place. The fictional client had first looked at the sample near a bedroom door. The technician moved it to the top step and saw that the extra height would change the rise from that step to the landing. The project paused before ordering. The survey covered the entire staircase, the nearest door and the line of the balustrade. The bedroom threshold could be accommodated in the design, while the profile of the staircase needed a separate assessment. The installer asked for a section with finished levels as well as the area to be covered.
The staircase was surveyed before removal
The technician recorded existing treads and risers along the route used to ascend the stairs. The survey also marked the edge of the top step and the balustrade supports. The flooring installer measured the accessible layers on the landing. An earlier overlay was found near the staircase and could be removed to recover some height. The design took account of the substrate beneath that finish. A second survey was scheduled for when that surface would be visible. Measurements needed for the order were therefore divided into those already verified and those to be confirmed. The fictional client kept an alternative route available while the landing was open.
The nosing was selected from the finished section
After checking the substrate, the technician set the level the new system had to meet near the stairs. A parquet system was selected to suit that level and the surveyed base. The nosing was treated as part of the step detail, with its section designed for support and foot traffic. A profile sample and board were placed on a mock-up so the end beside the balustrade could be examined without working on the actual step. The first board arrangement left a narrow cut next to the nosing. Moving the starting line on the landing gave the installer a wider final row and retained the planned layout in front of the doors.
The stairs reopened after the checks
The installer prepared the base and trialled the nosing while the substrate was exposed. The technician rechecked its relationship to the step below before permanent fixing. Work continued across the landing with the staircase and nearby sections of balustrade protected. The edge detail was finished according to the chosen system. The required waiting period elapsed before the stairs reopened. The checks covered the stability of the nosing, the surface of the first board and the movement of the nearest door. Protection came off the route only after the work was complete. The installer cleaned the junction so no residue obscured the meeting point between the nosing and parquet.
Handover recorded the checked section
At handover, the technician compared the finished level with the survey, then checked the junction both from the stairs and from the landing. At the balustrade, the edge was checked for interference with the retained support points. The fictional client received the drawing with the finished level and a photograph of the end of the nosing. The installer put the parquet and nosing references in the same file with the cleaning instructions. Parts of the staircase outside the scope were marked on the drawing. The record therefore showed which component was added at the landing and which surface of the step remained as it had been at the first visit.
Teramo · TE · Abruzzo · Distance and service-area coverage ↗
How we prepare the guides: sources and illustrative scenarios