Casa Pescara
Parquet · 3 min · Published
Joining parquet to an existing stone floor in Chieti
The existing stone had an irregular edge that needed to stay. This scenario follows the level survey and junction to the new parquet.
Illustrative scenario · A narrative example of work stages and final checks; it does not document an actual completed project.
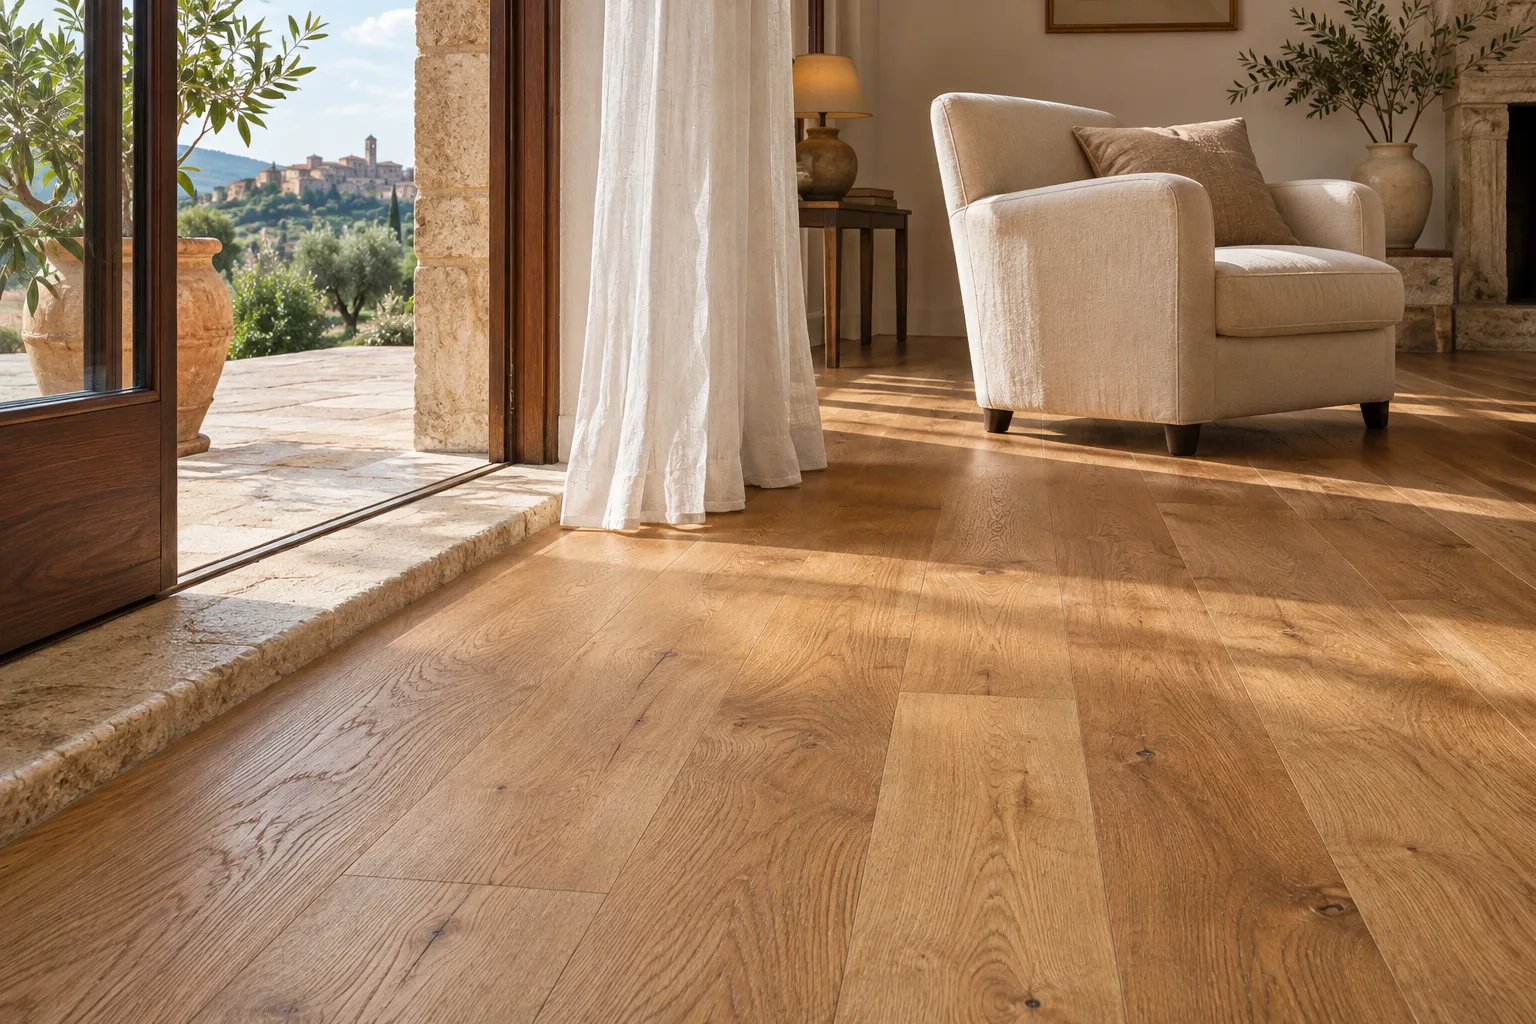
The stone stayed in place
In this fictional scenario in Chieti, the entrance retained a small stone floor before the living room. The fictional homeowner wanted parquet in the room while preserving the edge of the stone. The boundary curved slightly and had two recesses. When the installer placed a board at the midpoint, the junction looked straightforward. Moving the sample towards the door revealed a difference in height. The design therefore followed the full length of the boundary rather than the initial section alone. Before the new floor thickness was selected, the team also established how the door would open and how much space would remain for the usual route through the entrance.
The profile was recorded alongside the heights
The installer traced the edge using a reference that required no adhesive on the stone and recorded levels where they changed. The survey distinguished the shape of the surface from its outline in plan. A technician checked the stability of the edge and the condition of the substrate intended for parquet. A small projection stayed on the drawing because it belonged to the stone that would remain. The sweep of the door was then checked. The highest and lowest points along the line were marked on the sheet for comparison with different installation systems. The fictional client could see where the parquet would meet the stone even before the living-room finish was removed.
The junction accounted for the two materials
The parquet system was selected for the finished height it would leave after preparing the substrate. The installer proposed a shaped edge that followed the survey and accommodated the joint required by the system. The detail was tested at the deepest recess. The sample was used to check the transition and whether the perimeter could be cleaned without damaging the stone. The first proposal covered more of the edge than agreed. A second version, reviewed with the technician and installer, left the original line visible. The boards were then arranged so that the end pieces would not all be narrow at the same point.
The pattern was checked before final cuts
The stone was protected while the living room was prepared. Once the substrate was checked, the installer compared the pattern with the exposed edge and confirmed the marked levels. The junction piece was made so it could be trialled before laying the last row. The door was opened again with the sample in position. The crew corrected a small interference in the board layout before cutting the permanent material. When installation was complete, the perimeter was cleaned according to the instructions for the selected products and the protection removed. The junction was then viewed from the living room and entrance because light from each direction showed different aspects of the edge.
Cleaning instructions covered each material
At handover, the entrance was crossed in both directions and the movement of the door was checked. The technician compared the edge with the retained outline and indicated the exact limit of the new parquet. The fictional homeowner received separate cleaning instructions for wood and stone, with a note on the point where the materials met. The record also included a close-up photograph of the recesses, taken before the walkway returned to use. The pattern for the junction piece was kept with the board reference. It would allow an installer to remake the piece if needed without using the stone as a test surface.
Chieti · CH · Abruzzo · Distance and service-area coverage ↗
How we prepare the guides: sources and illustrative scenarios