Casa Pescara
Parquet · 3 min · Published
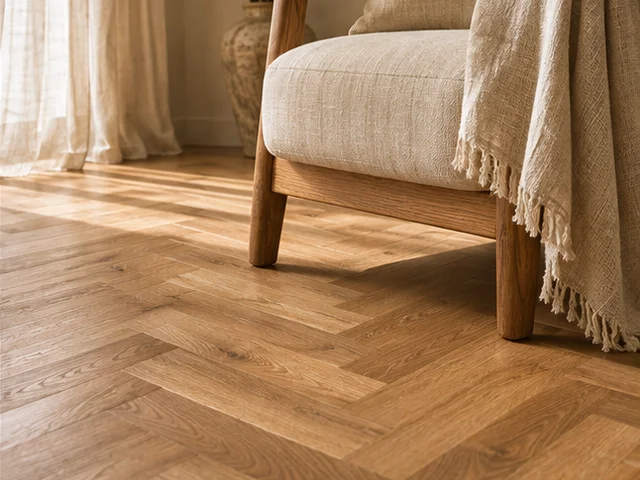
Herringbone parquet around a floor socket in Pescara
An illustrative case that aligned a herringbone pattern around an existing floor socket while preserving access.
Illustrative scenario · A narrative example of work stages and final checks; it does not document an actual completed project.

The socket landed in the herringbone pattern
In this illustrative case, the parquet in a Pescara living room had been laid about fifteen years earlier. A floor socket served a lamp beside the sofa. The new herringbone pattern crossed that position and the first drawing put the frame across two very small pieces. The socket would stay, so an electrician was involved before the board layout was chosen. The closed lid, its movement and the lamp position were photographed. The survey also showed the doorway and the axis from which the pattern would first be seen on entering. The layout needed to coordinate two references that fell on different lines.
Confirming the height and access on site
The electrician identified the socket system, inspected its accessible parts and checked the conditions for keeping it in service with the new floor. The flooring installer measured the visible substrate and compared the thickness of the materials. In the first proposal the frame sat at a different height from the boards and the lid could touch an edge as it opened. Before ordering, the relevant manufacturer’s instructions were collected and the junction between the box, frame and parquet was planned. The drawing showed the outline of the box and the space occupied by the lid when open, so the trial could account for movement.
Trying the pattern in two positions
Sample boards reproduced two possible herringbone layouts. In the first, the points followed the doorway axis precisely, but small cuts around the socket remained visible from the sofa. In the second layout the axis shifted slightly and the pieces near the frame had clearer outlines. The team checked the view from the door, the edges at the walls and the system’s instructions for the floor perimeter. The household selected the second layout after seeing a frame template in place. The electrician and flooring installer received a copy of the same drawing, using a common reference for the finished height.
Testing the lid with the floor in place
During installation, the flooring installer offered up the pieces around the socket before finishing the area. The electrician checked the detail and lid movement in the conditions specified for the system. A trial edge interfered with the opening, so the board was adjusted before the finish was completed. After fitting, the test was repeated with the lamp in use and the rug in its intended place. The rug stayed clear of the opening. The flooring installer checked the continuity of the pattern and whether a cloth could reach the frame edge. Photographs showed the socket open and closed from the same position.
Coordinating a floor socket with parquet installation
Before ordering, photograph the socket and ask an electrician to identify the system and the movement that must remain clear. Have the flooring installer check finished height and try real pieces around a template. Compare the cuts from the doorway and the lamp position. At handover, ask the electrician to demonstrate opening and use, and keep the drawing with the model references. This example also recorded how to clean the edge under the parquet care instructions and where the furniture layout needed to leave the lid clear when the lamp was moved for cleaning.
Pescara · PE · Abruzzo · Distance and service-area coverage ↗
How we prepare the guides: sources and illustrative scenarios