Casa Pescara
Bathroom · 3 min · Published
A dull basin finish in a Torrevecchia Teatina bathroom renovation
An illustrative case that compared compatible cleaning, surface repair and basin replacement during a bathroom renovation.
Illustrative scenario · A narrative example of work stages and final checks; it does not document an actual completed project.
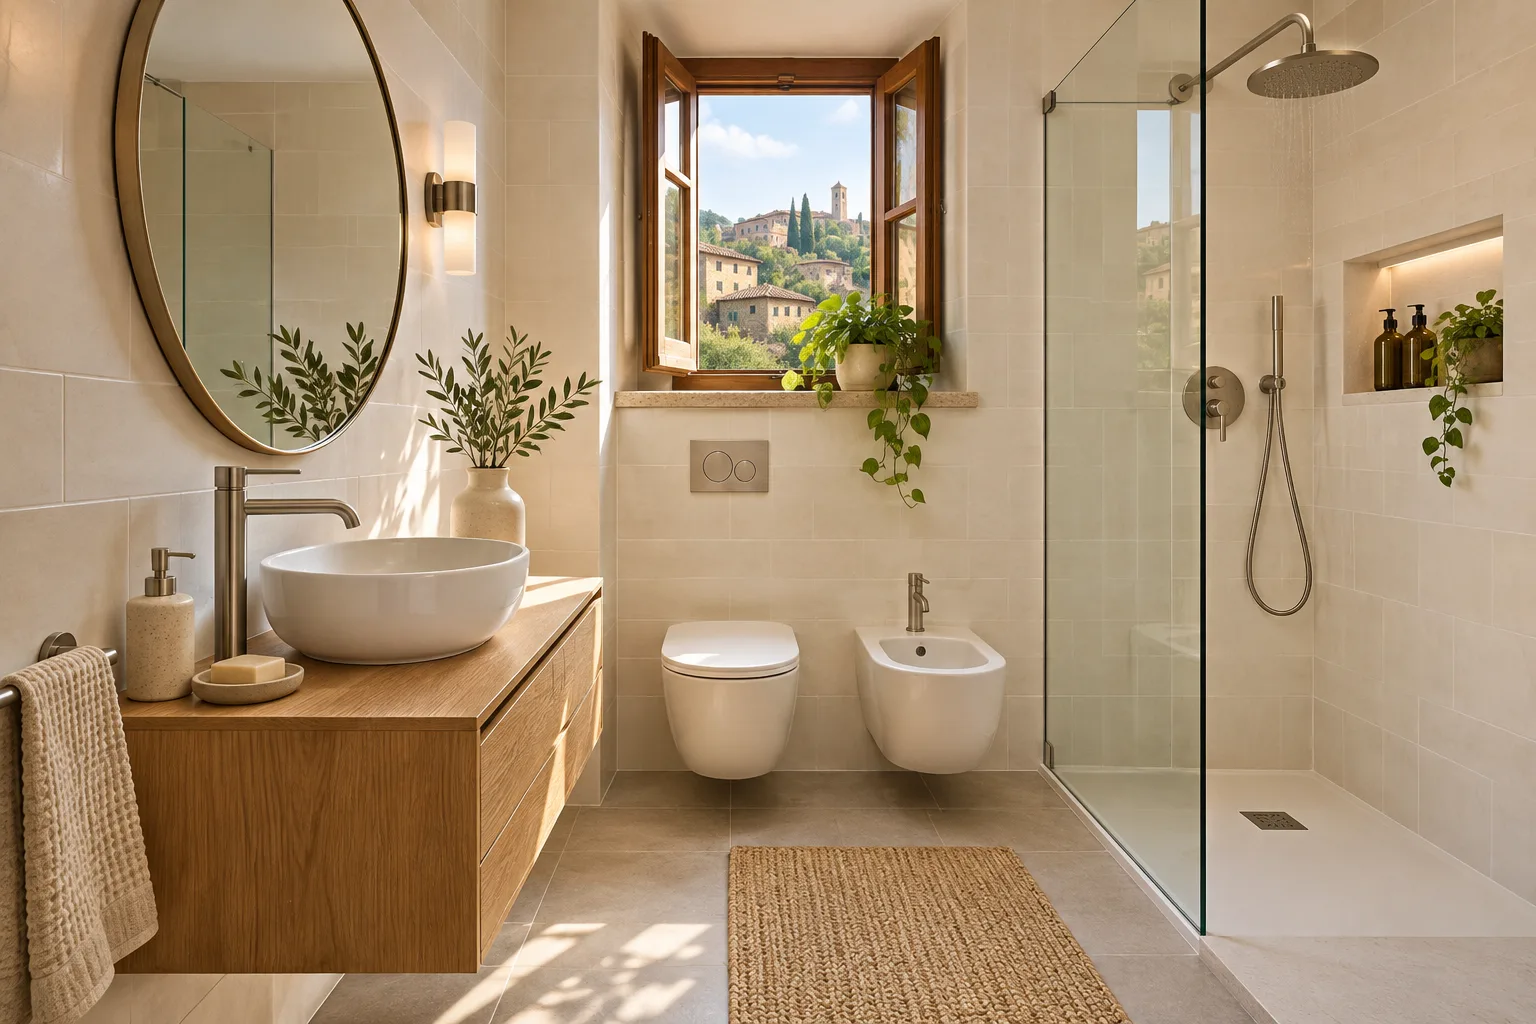
The mark changed when the surface was wet
In this illustrative case, the basin in Torrevecchia Teatina dated from a bathroom renovation about fifteen years earlier. A dull area spread near the outlet and became less obvious when wet. The household planned to replace the vanity and wanted to know whether the basin could stay. Photographs taken in different lighting suggested different outlines, so the survey included an observation with the surface dry. The notes listed products used over time and areas where deposits formed. The technician asked the household to hold off on further trials with unidentified products while the material and finish were checked. This left the surface available for comparison.
Starting with the basin documentation
A reference on the underside helped the supplier identify the product family. The rim, outlet hole and available product sheet were compared. A professional inspected the surface and distinguished deposits in one area from a section that stayed dull after compatible cleaning. The check was recorded in the same lighting conditions. The supplier was then asked whether a finish repair was available for that model. Its response and the site inspection did not support the proposed treatment. The remaining choices were to keep the basin with the mark visible or replace it while the vanity was being renewed. Both were considered with the proposed worktop.
Trying the new outline on the top
The household chose replacement. Before ordering, the basin outline, opening and tap lever movement were marked on a sample of the new top. The first basin considered sat too close to the wall and left little space for a cloth behind the rim. The selected model allowed access around its perimeter and came with care instructions. The installer checked the actual dimensions before the top was sent for cutting. The plumber assessed the existing connection and specified the fitting. The drawing kept the basin, worktop and taps under distinct references so any replacement could be matched to the right component later.
Checking the places that had collected deposits
Once the basin was fitted, the plumber tested drainage and inspected the reachable connections. The household checked access around the rim with an ordinary cleaning cloth. In the first trial, the toothbrush holder occupied the easiest place to reach the back edge. It went to the opposite side and the movement was tested again. A small amount of water near the tap was wiped away to check that the area was reachable. The trial did not attempt to predict how long the finish would last. The waste closure and the area corresponding to the original dull patch were checked. An installation photo went with the care instructions.
Planning a choice between keeping and replacing a basin
Before deciding, photograph the dry mark and gather details of the basin and the products used on it. Ask the supplier which treatments suit the material and have a professional assess the defect under comparable conditions. If a replacement is needed, check its footprint on the top and ask for a drainage and cleaning trial at handover. In this example the final sheet kept the model instructions and the comparison photographs. A note marked areas to observe if new deposits appeared, so a later inspection could begin at the affected surface.
Torrevecchia Teatina · CH · Abruzzo · Distance and service-area coverage ↗
How we prepare the guides: sources and illustrative scenarios