Casa Pescara
Bathroom · 3 min · Published
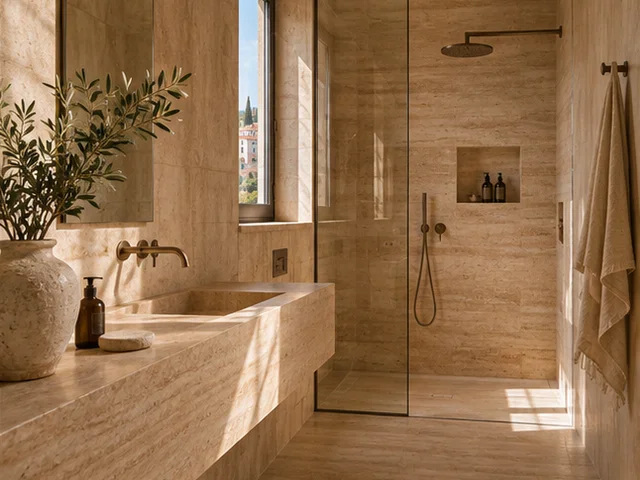
A wall mounted tap and new basin in a Cepagatti bathroom
An illustrative Cepagatti case that checked where the stream would land before ordering the basin and worktop.
Illustrative scenario · A narrative example of work stages and final checks; it does not document an actual completed project.
The new basin would change where the water landed
In this illustrative case, the Cepagatti bathroom had been renovated about fifteen years earlier. The wall mounted tap still worked, but the basin and vanity needed replacement. The proposed basin would leave more room on the worktop. Viewed from the side, however, its bowl began farther forward than the old one. The point where water landed in the old basin was marked and transferred to the drawing. The survey also recorded the distance between the handle and the back rim. This helped determine whether someone could operate the tap without leaning onto the new worktop.
Samples revealed two different constraints
The plumber identified the tap model and inspected the reachable components. Two basin profiles were mocked up at the proposed height. On the first, the water would fall too close to the inner edge of the bowl. The second gave a more central landing point, but the higher rim reduced the room to use the handle. The household tried the movements without running water, simulating the reach for soap and the movement of a hand under the spout. Handle access and water landing position were recorded as separate checks. The supplier was asked for actual dimensions and the parts available for the existing model.
Keeping the tap body
After the plumbing check, the plan kept the tap body in the wall and matched it with a basin that worked with the existing spout. The bowl position on the top was adjusted to leave a gap for cleaning behind it. The installer checked the relationship between the cutout, the cabinet side and the access needed at the basin connections. An early version would have left too little room for a cloth near the wall. The drawing changed before ordering. It recorded bearing points, the retained components and where the stream would be checked. The chosen worktop material came with cleaning instructions.
Testing with water before finishing the edges
Once the basin was offered up in its final position, the plumber observed the stream at several handle positions. The areas wetted around the rim were also checked with hands in their usual place. A slight adjustment of the position on the top, still allowed within the agreed detail, gave a cloth more room behind the basin. The installer rechecked the bearing surface and the plumber checked drainage after connecting the waste. The household then tried taking soap with a wet hand. The dispenser moved out of the area most exposed to splashes. A photograph recorded the trial while the worktop edge was still accessible.
Matching a replacement basin to an existing tap
Photograph the tap from the side and record where water lands in the current basin. Ask a plumber to identify the model and check the basin profile with the supplier before ordering the top. Review handle travel and cleaning space behind the rim separately. At handover, request a water test and check access to the waste connection. In this example the file kept the tap reference, the basin template and compatible cleaning products for both finishes. A photograph showed the final dispenser position so it could be restored after cleaning without placing it back in the splash area.
Cepagatti · PE · Abruzzo · Distance and service-area coverage ↗
How we prepare the guides: sources and illustrative scenarios