Casa Pescara
Bathroom · 3 min · Published
Bathroom renovation in Città Sant’Angelo with a glass block partition
An illustrative case that inspected a glass block partition before deciding what to retain in the bathroom.
Illustrative scenario · A narrative example of work stages and final checks; it does not document an actual completed project.
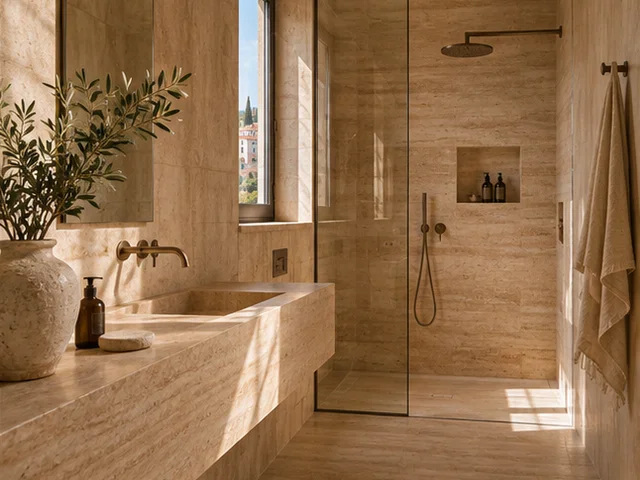
The glass brought light into an internal corner
In this illustrative case, the bathroom in Città Sant’Angelo had been renovated about fifteen years earlier. A low glass block wall separated the shower from the basin and passed light through from the window. The renovation proposed a new vanity and a different shower opening. The first plan considered shortening the partition by a few blocks, but its connections were undocumented. Both ends and the junction at the floor were photographed. The household indicated where light should still reach and when the partition obstructed movement. Those observations were recorded alongside measurements for technical review before any intervention was agreed.
Inspecting the junctions before choosing
The technician examined the partition and asked for part of its connections to be exposed while the affected finish was removed. One edge that had appeared free was attached to a profile beneath the old finish. The images also showed a different junction near the wall. The design dropped the proposal to remove individual blocks and compared retaining the whole partition with full replacement. A template showed the new shower opening with the partition still in place. Passage was workable with a shallower vanity. The partition was retained after the technician’s assessment and the arrangement of nearby fixtures was revised.
The new finish stopped before the glass
The tiler inspected the retained edge and prepared two samples for the meeting point with the new tile. The first drawing covered part of the glass block face and left a line visible from the basin. The second kept the partition outline visible and finished on a section the technician had already examined. The detail was coordinated with the other shower work. The drawing identified surfaces exposed to water, the position of the partition and the parts to protect during installation. Samples were viewed in morning light and under artificial light, which revealed differences along the edge.
Checking the same viewpoints again
Before completing the finish, the installer tried the vanity and the shower opening. A sample handle came too close to the partition profile, so the drawing specified a less projecting shape. After installation, passage and cleaning were tested from both sides of the partition, at the basin and inside the shower. The technician inspected the junction during the agreed shower tests. The partition was also photographed from the same viewpoints used in the survey so the household could compare how the light fell before and after. Images of the exposed connection taken during the work were kept with the file.
Deciding whether to retain a similar partition
Bring photographs of the ends to the site visit and show where the light comes from. Ask the technician to check how the partition is supported and which parts can be inspected before choosing between retaining and replacing it. Try the opening and passage with cabinet templates. At handover, check that the edge can be cleaned and retain the references for the junction materials. In this example the sheet identified points to observe if a joint changed appearance. Photographs taken before the wall finish went back stayed alongside the shower plan and the cleaning instructions for both surfaces where the two finishes met along the edge.
Città Sant'Angelo · PE · Abruzzo · Distance and service-area coverage ↗
How we prepare the guides: sources and illustrative scenarios